Resin+LED Bedside Table
a wood/metal bedside table with resin and interactive lighting
January 2019
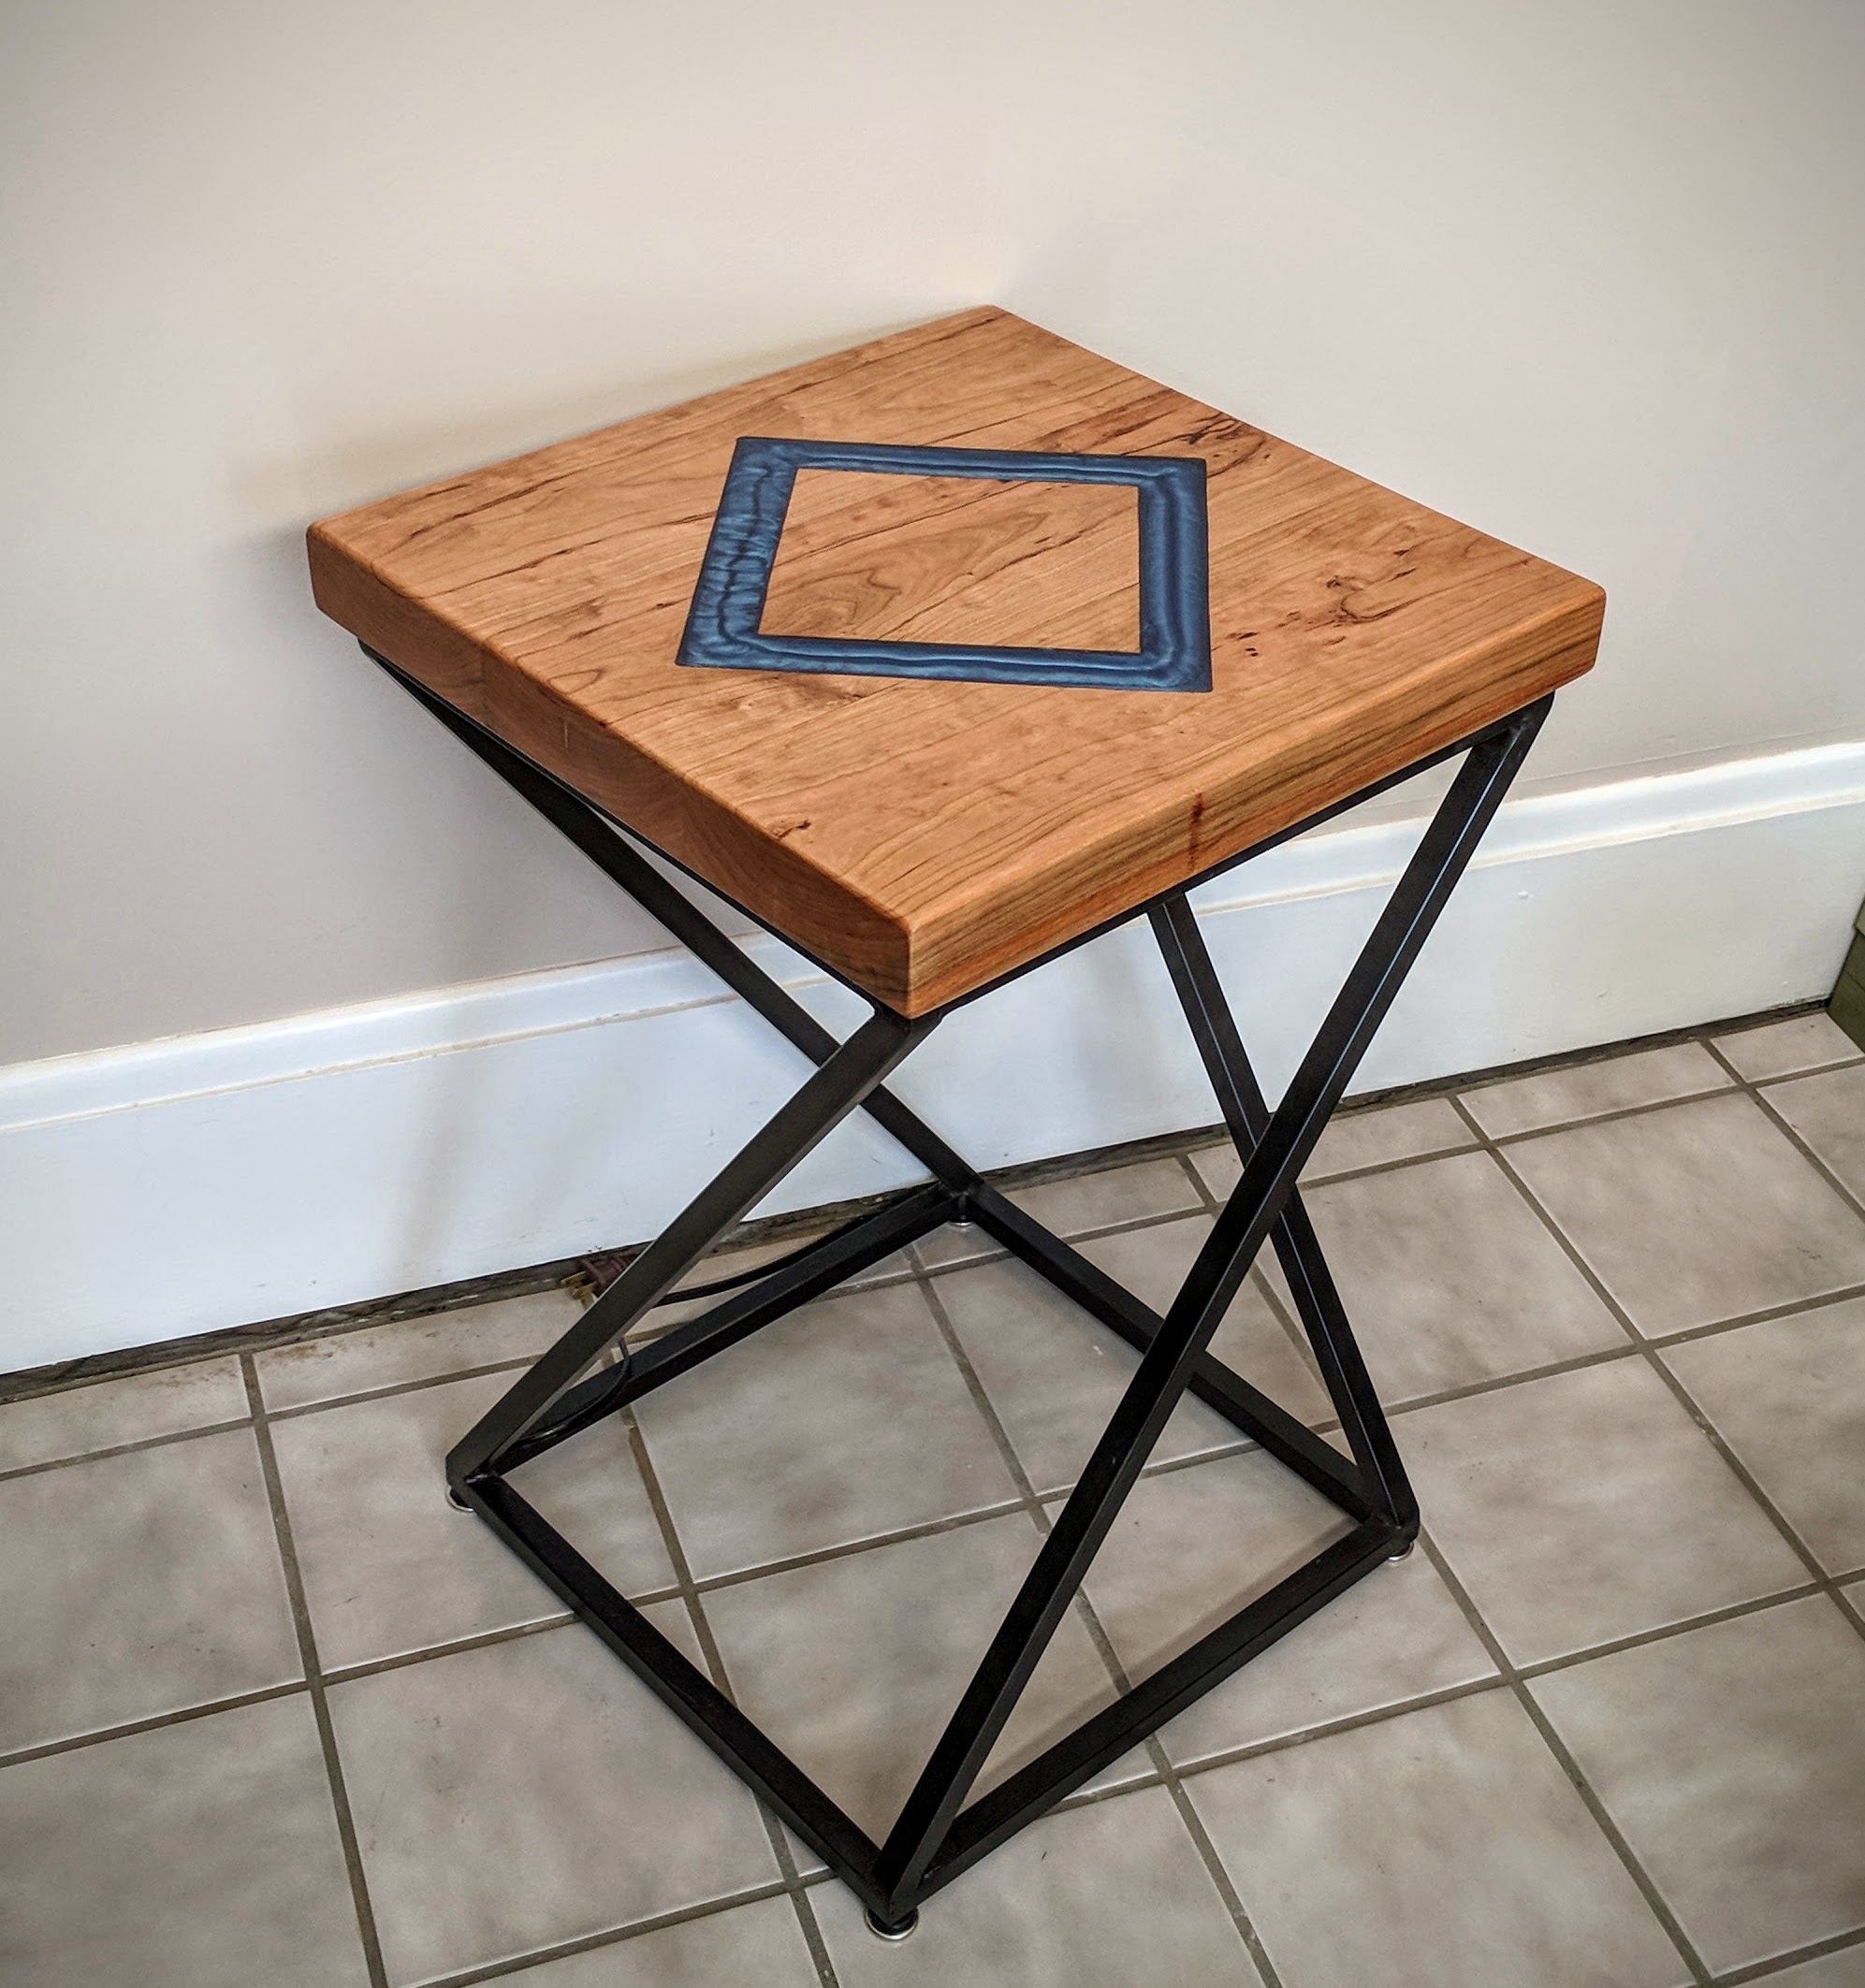
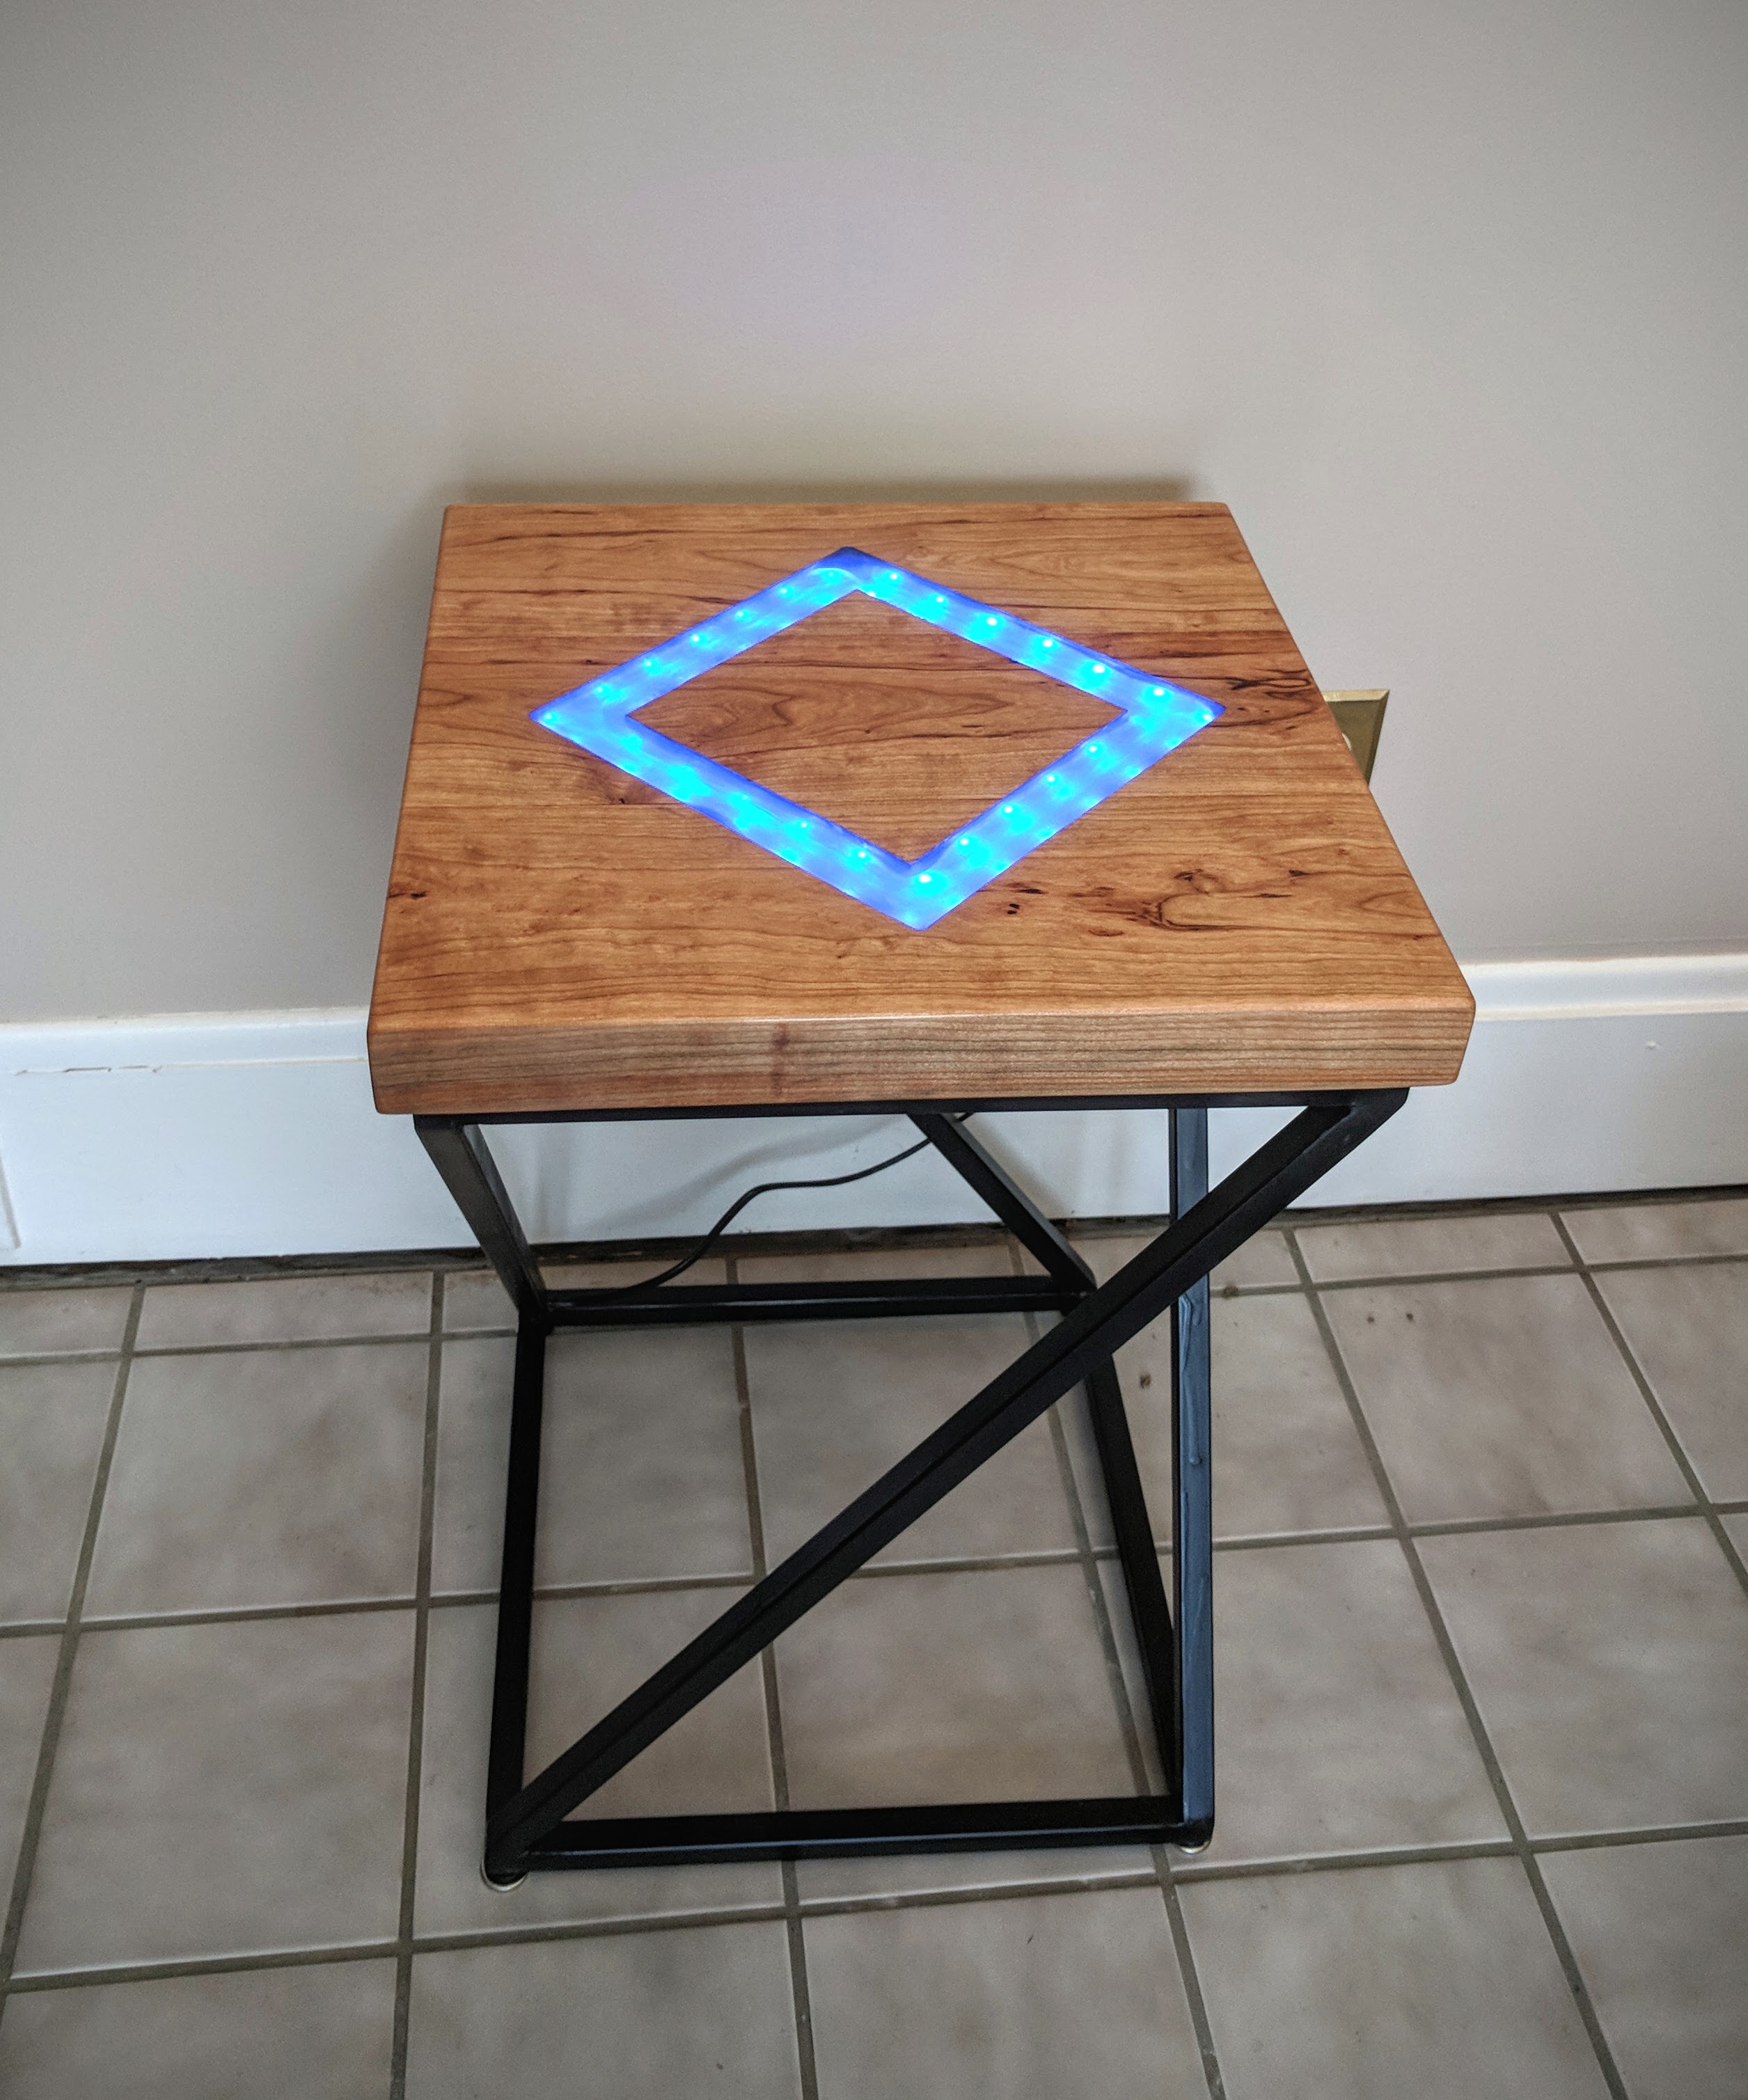
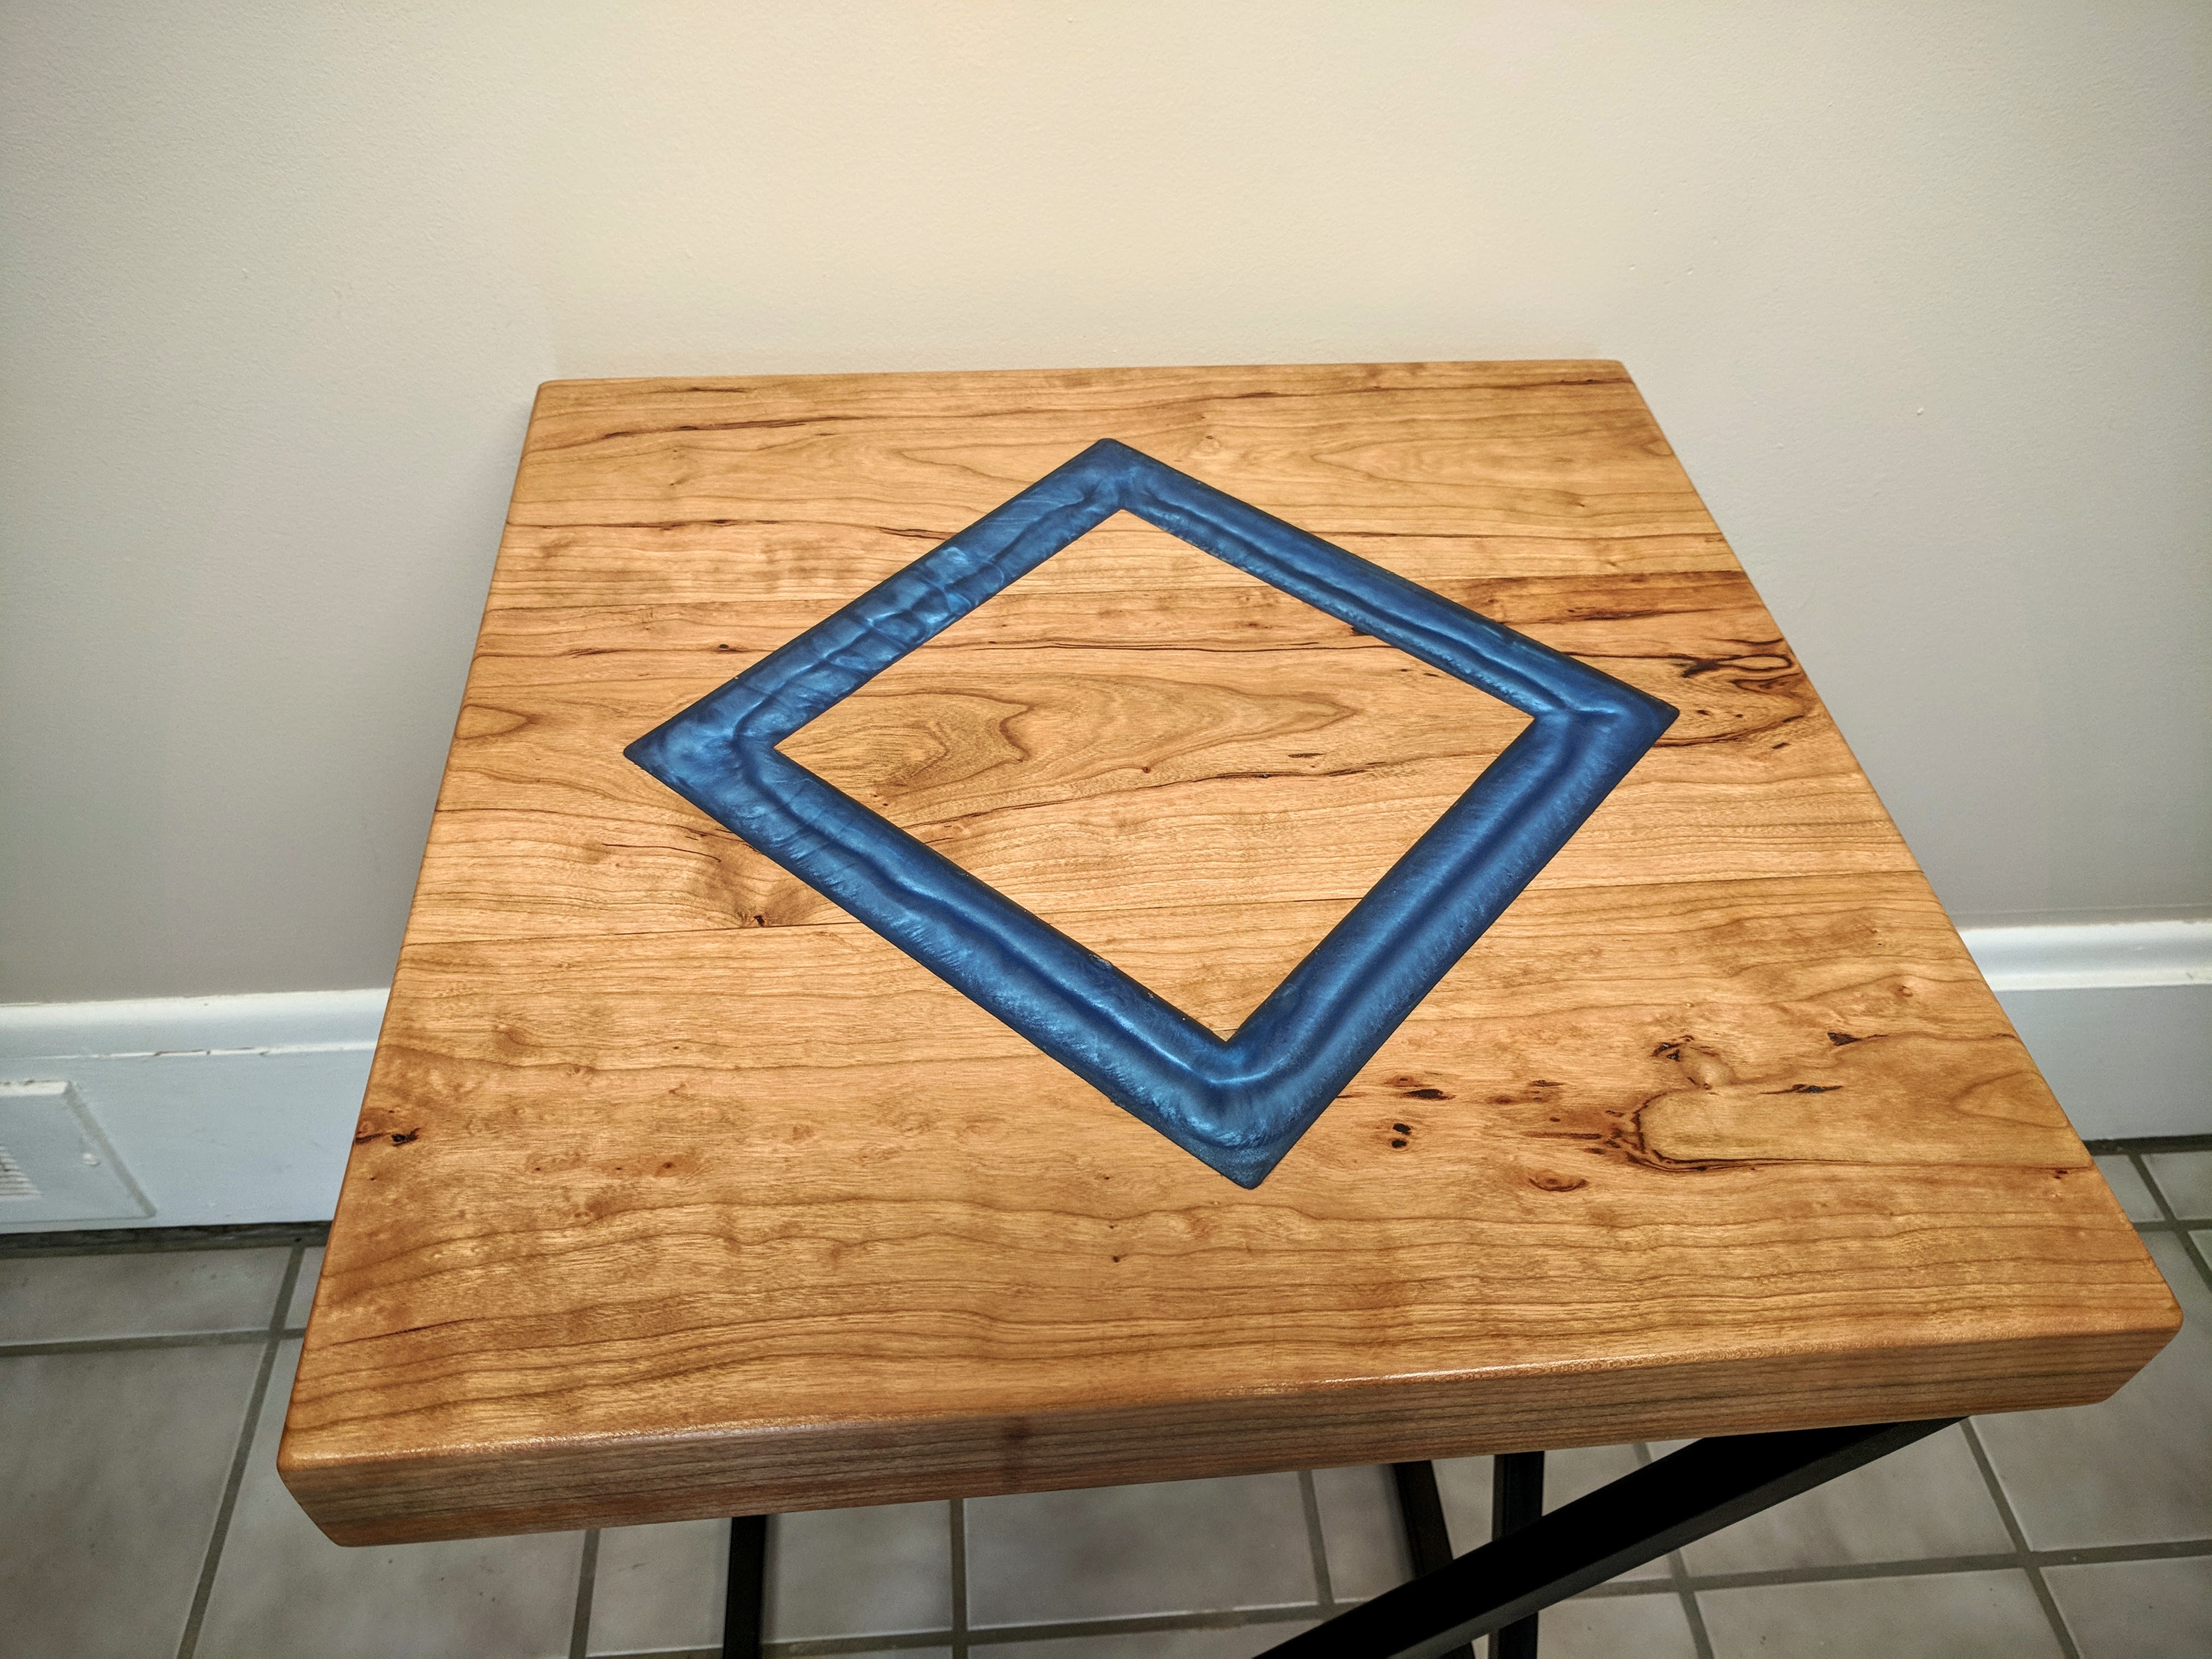
One night lying in bed I realized I didn’t have a bedside table or a nearby light; that needed to be fixed. I had been wanting to do something with woodworking for a while, so a light-up wooden bedside table was the perfect project. The final table includes a cherry top with light-up resin inlay, hidden touch-sensor, and a custom steel frame.
Wood Top
I started by picking up a large piece of Cherry from Urbanwood in Ann Arbor for the tabletop. I straightened the sides with the jointer, cut shorter planks the length of the table, and glued the planks together for a 30x30x2” top.
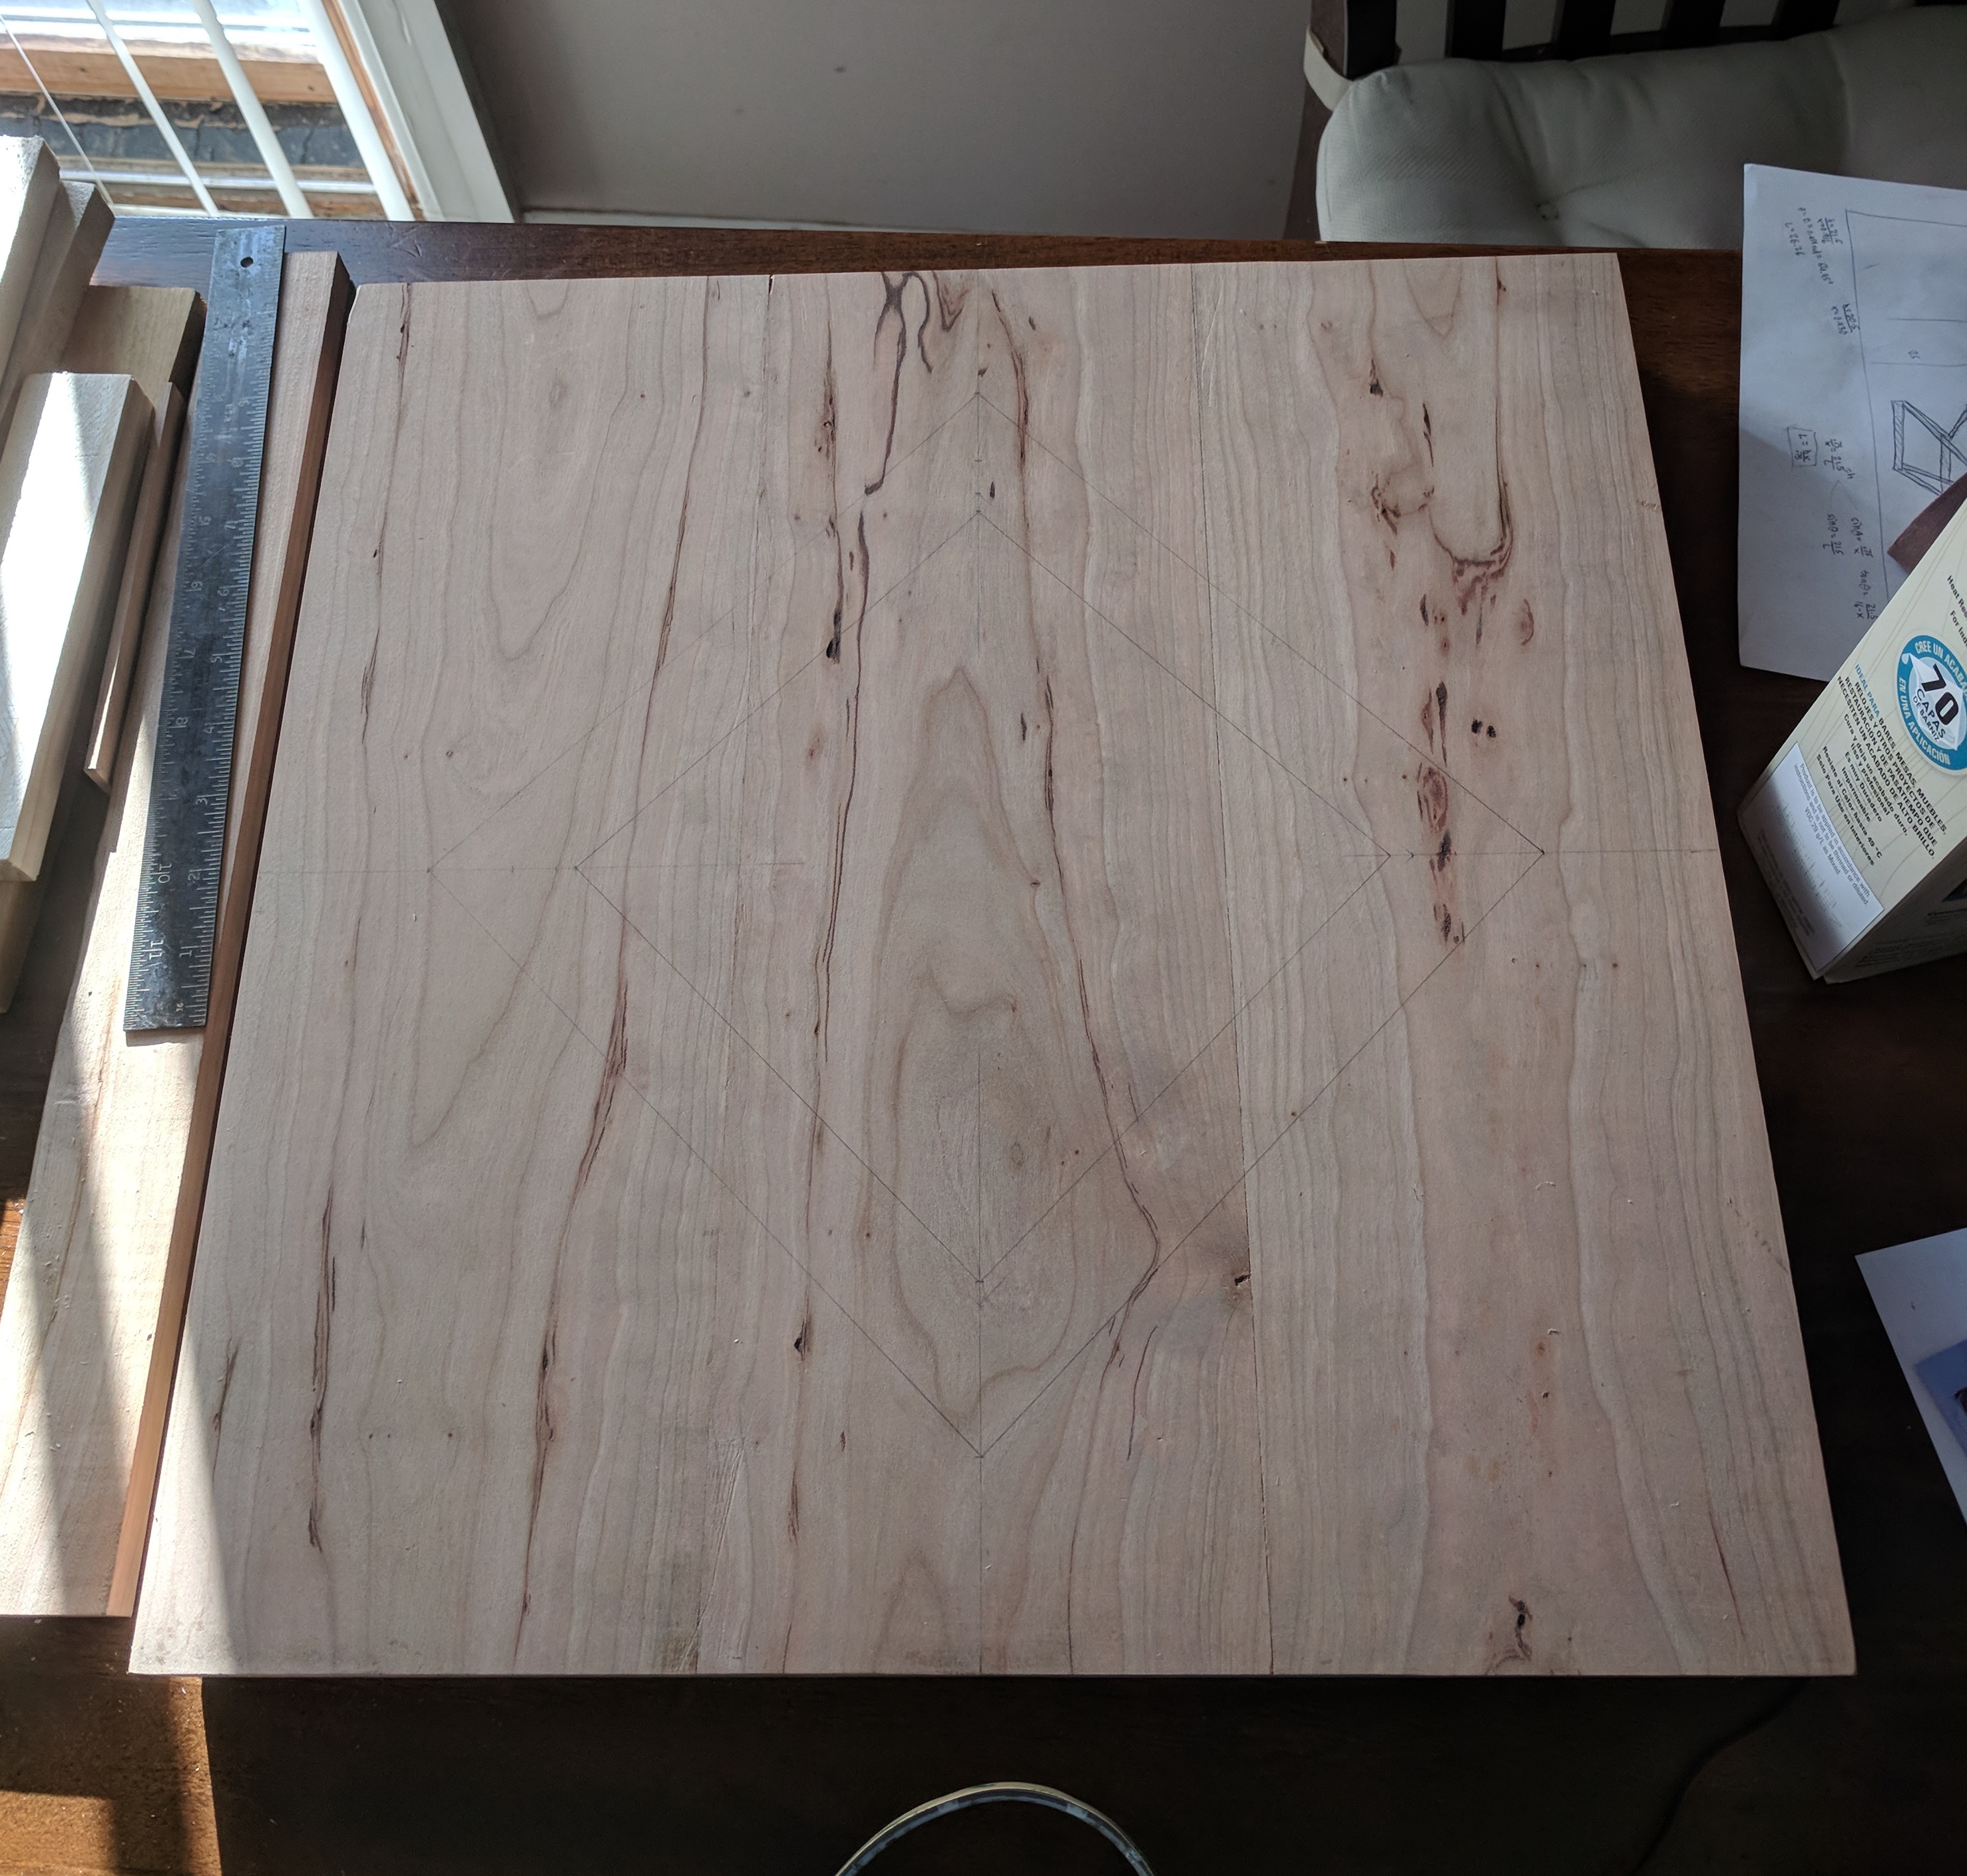
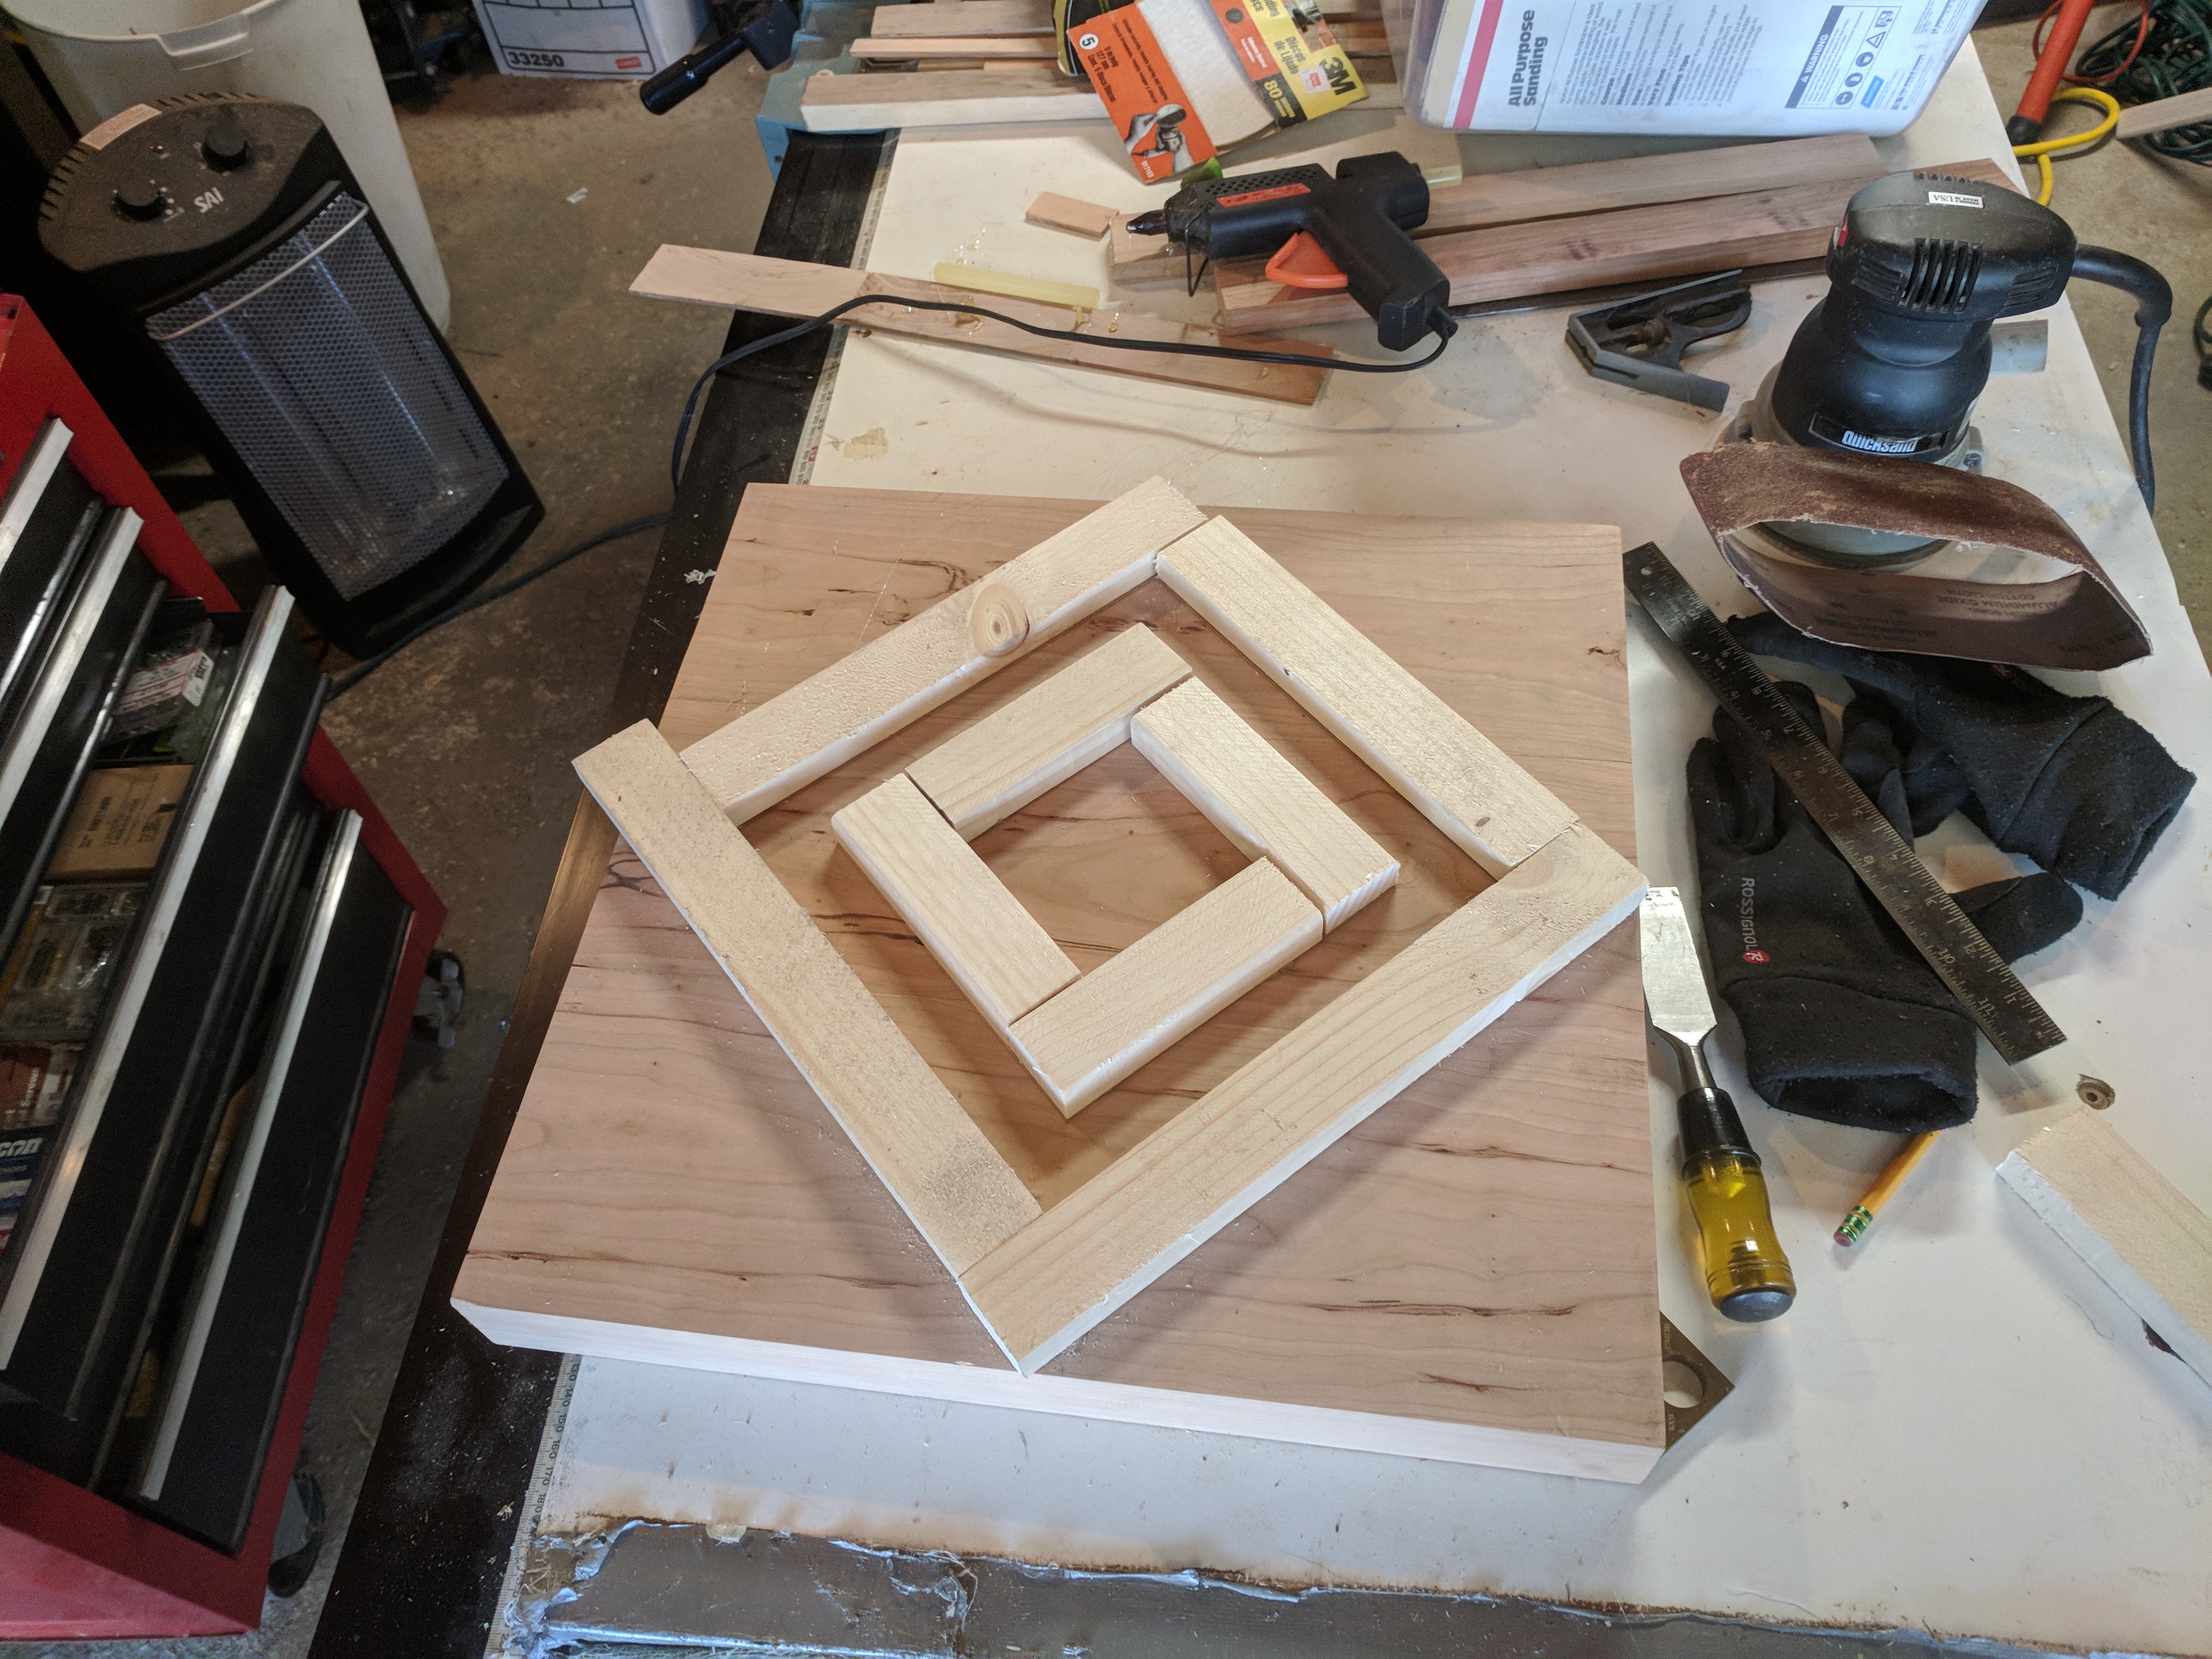
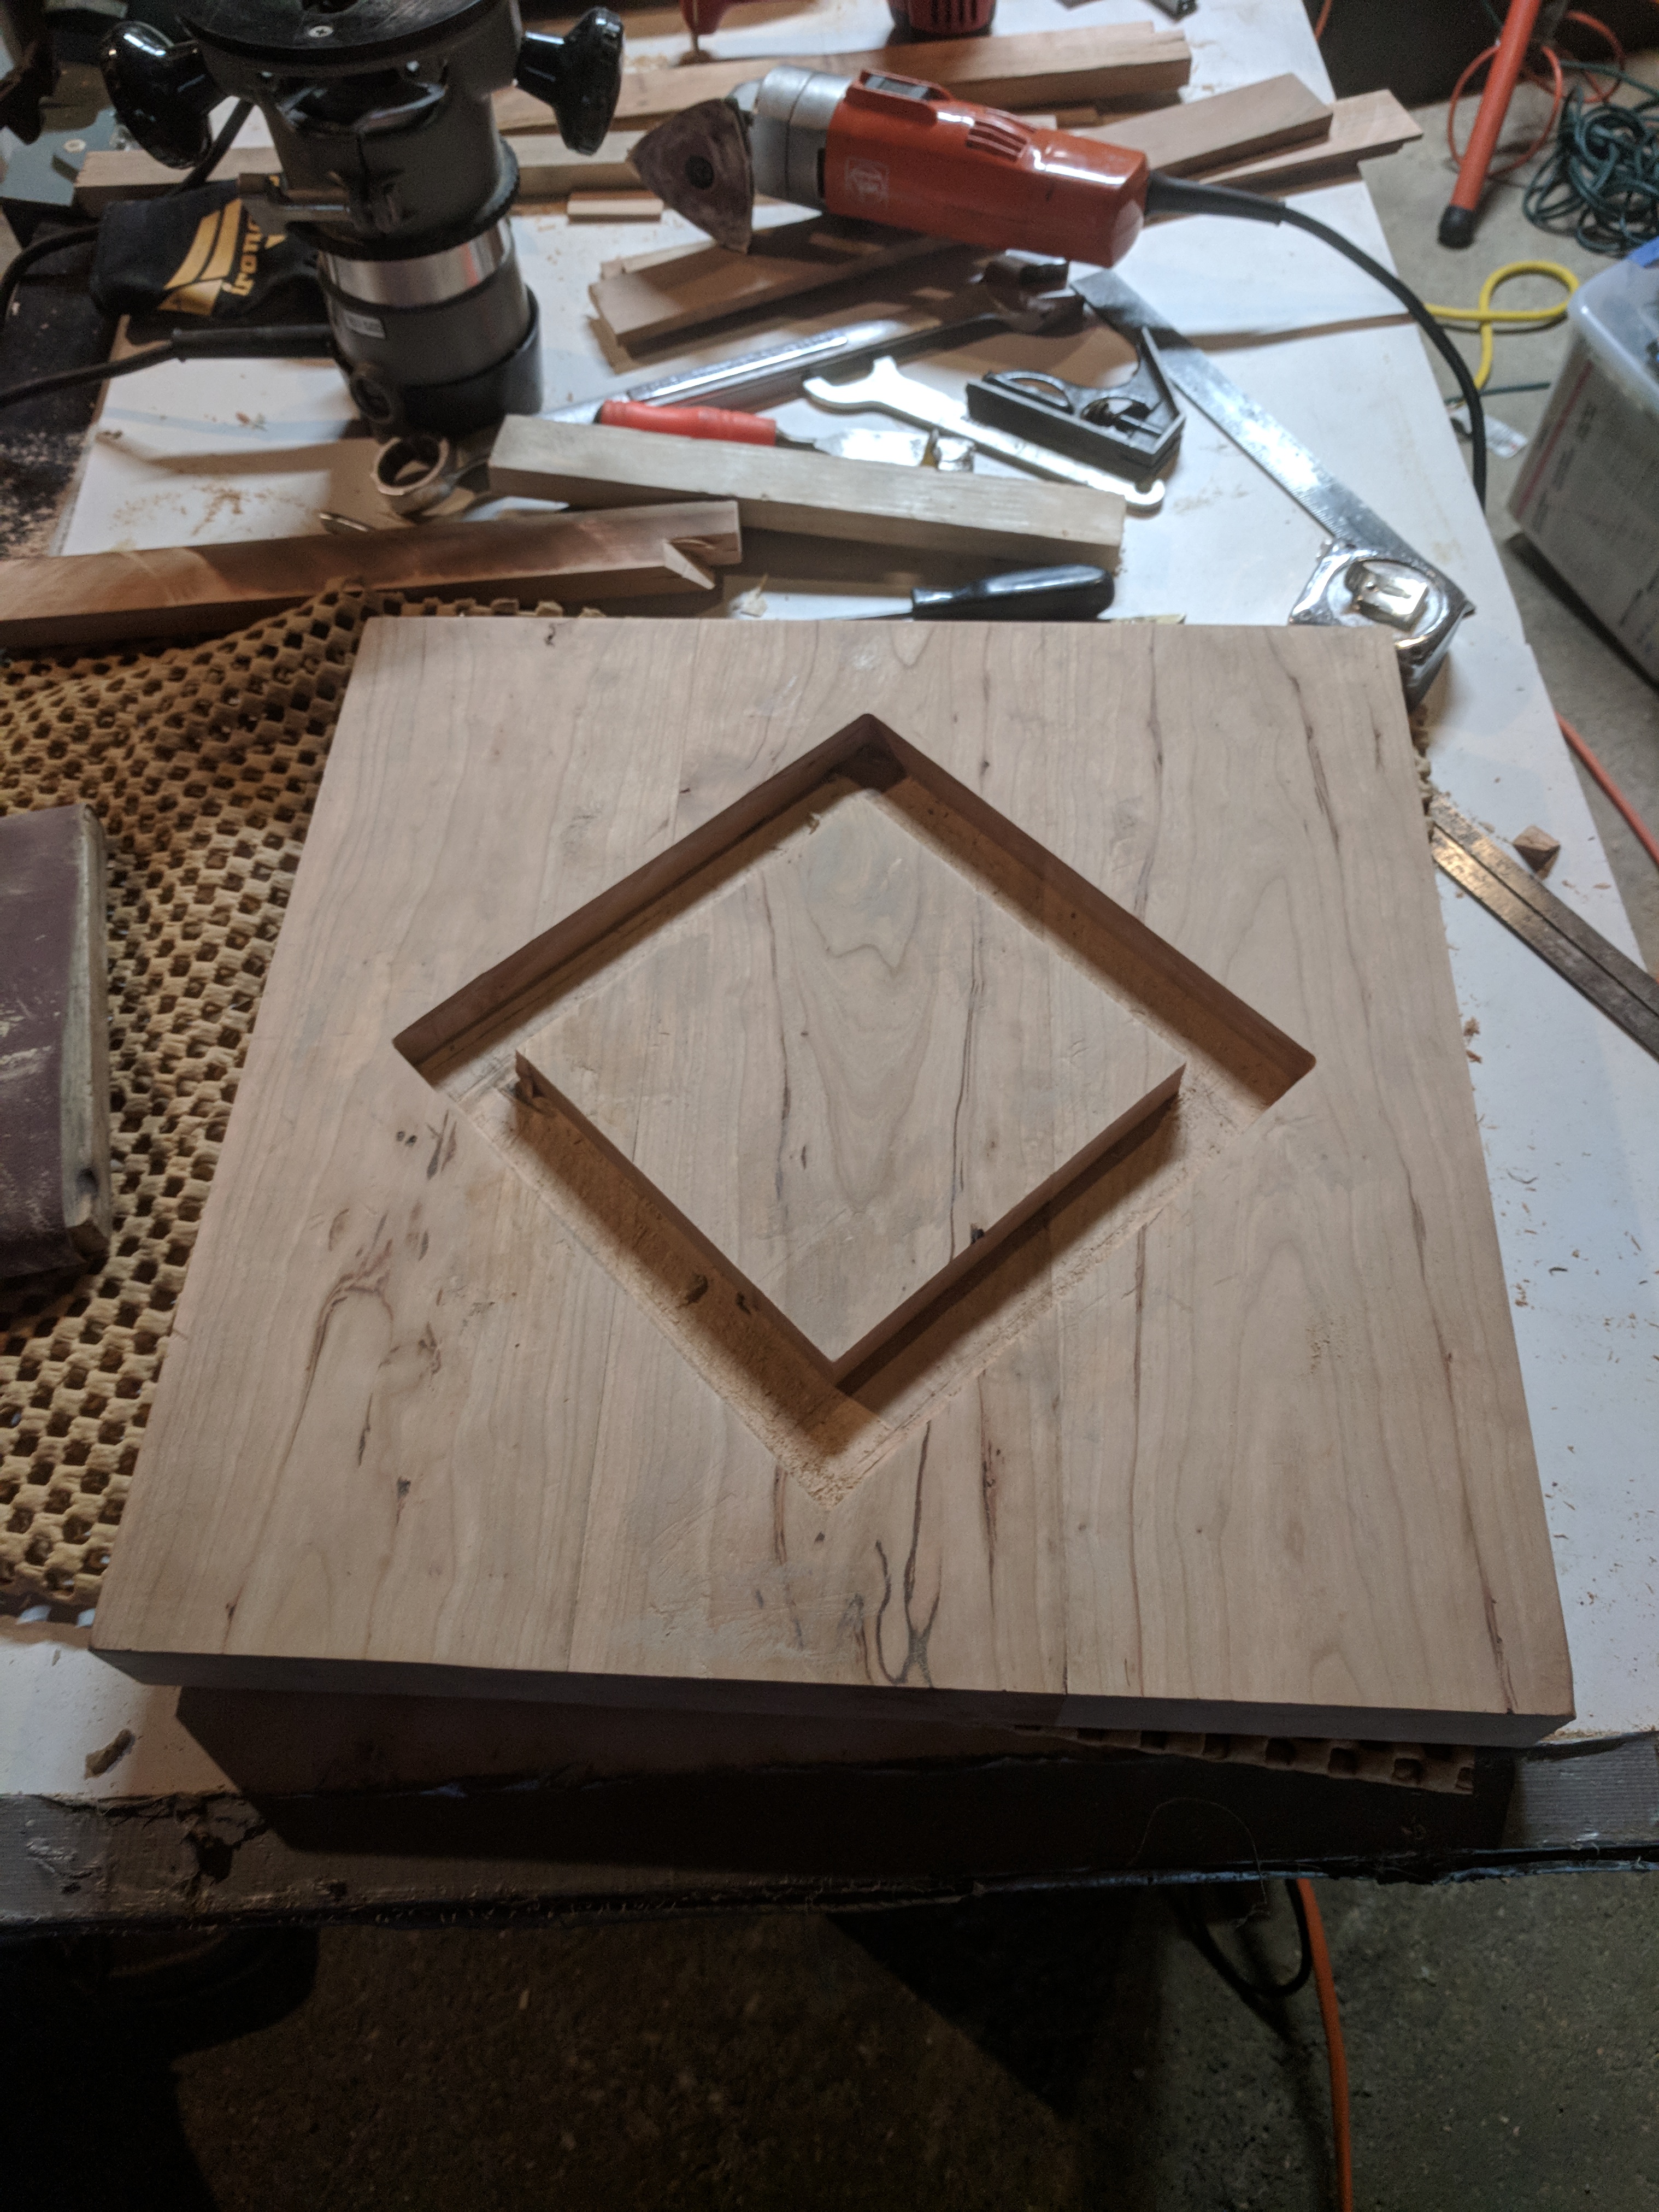
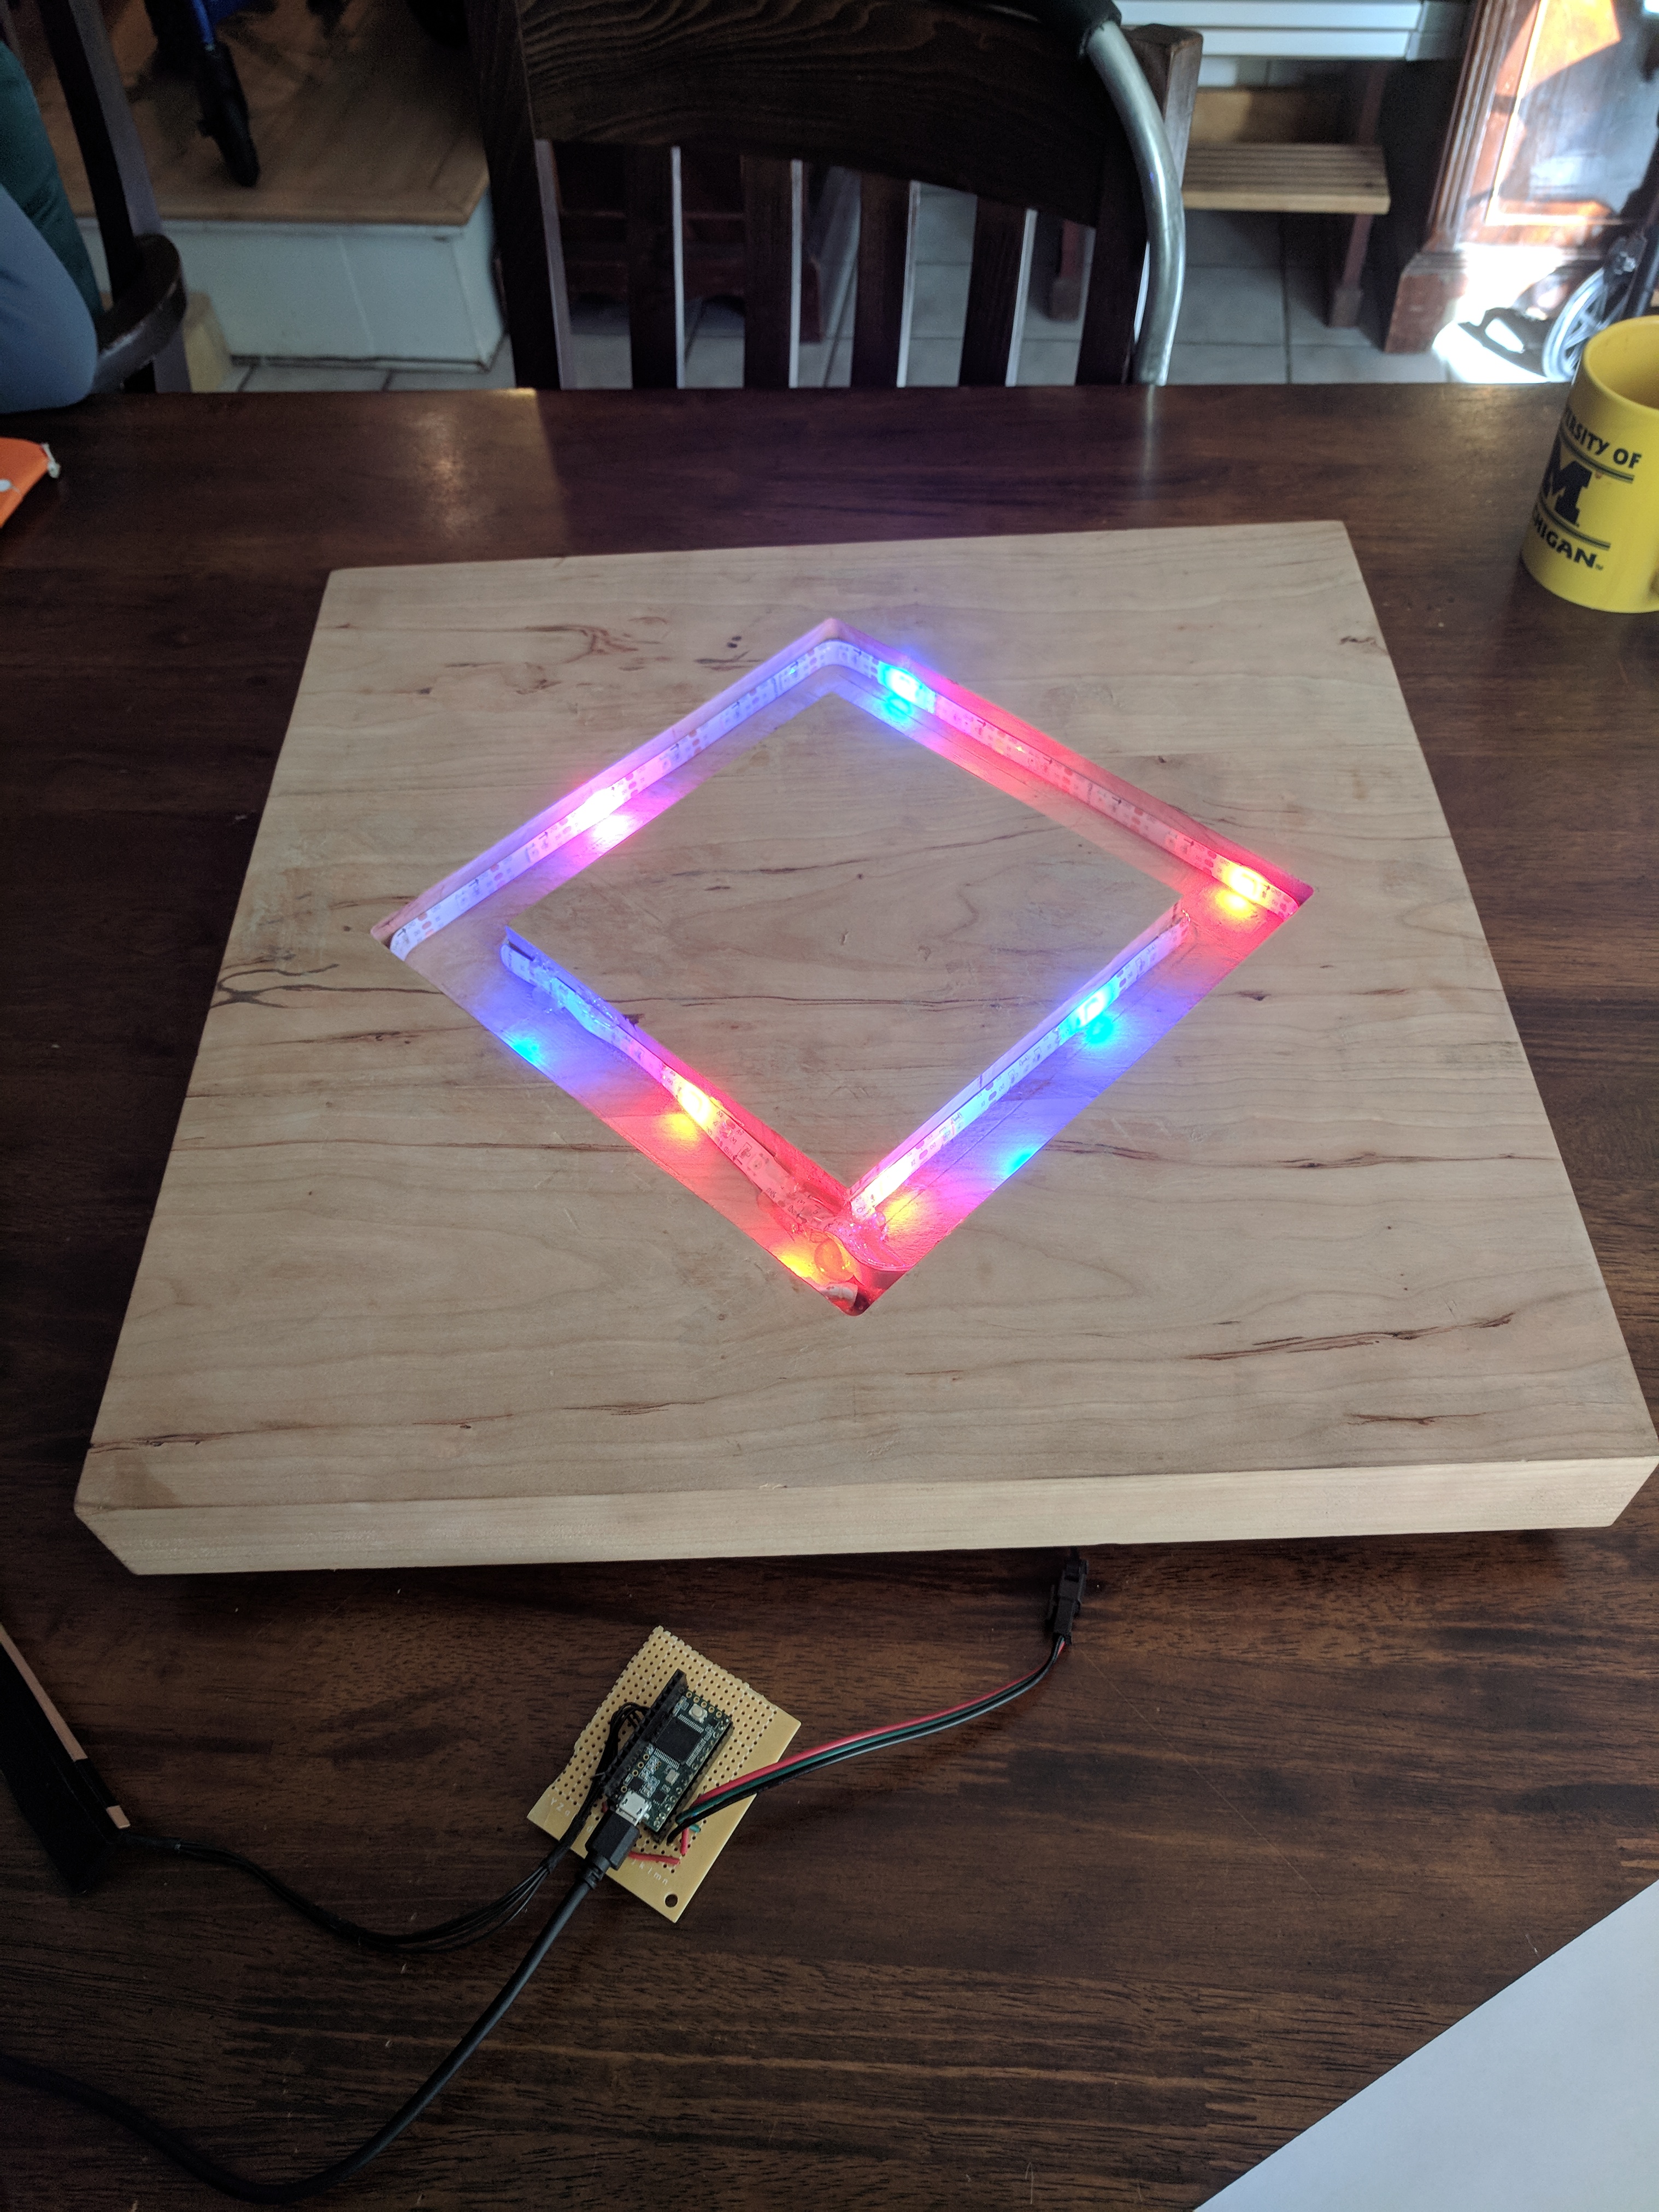
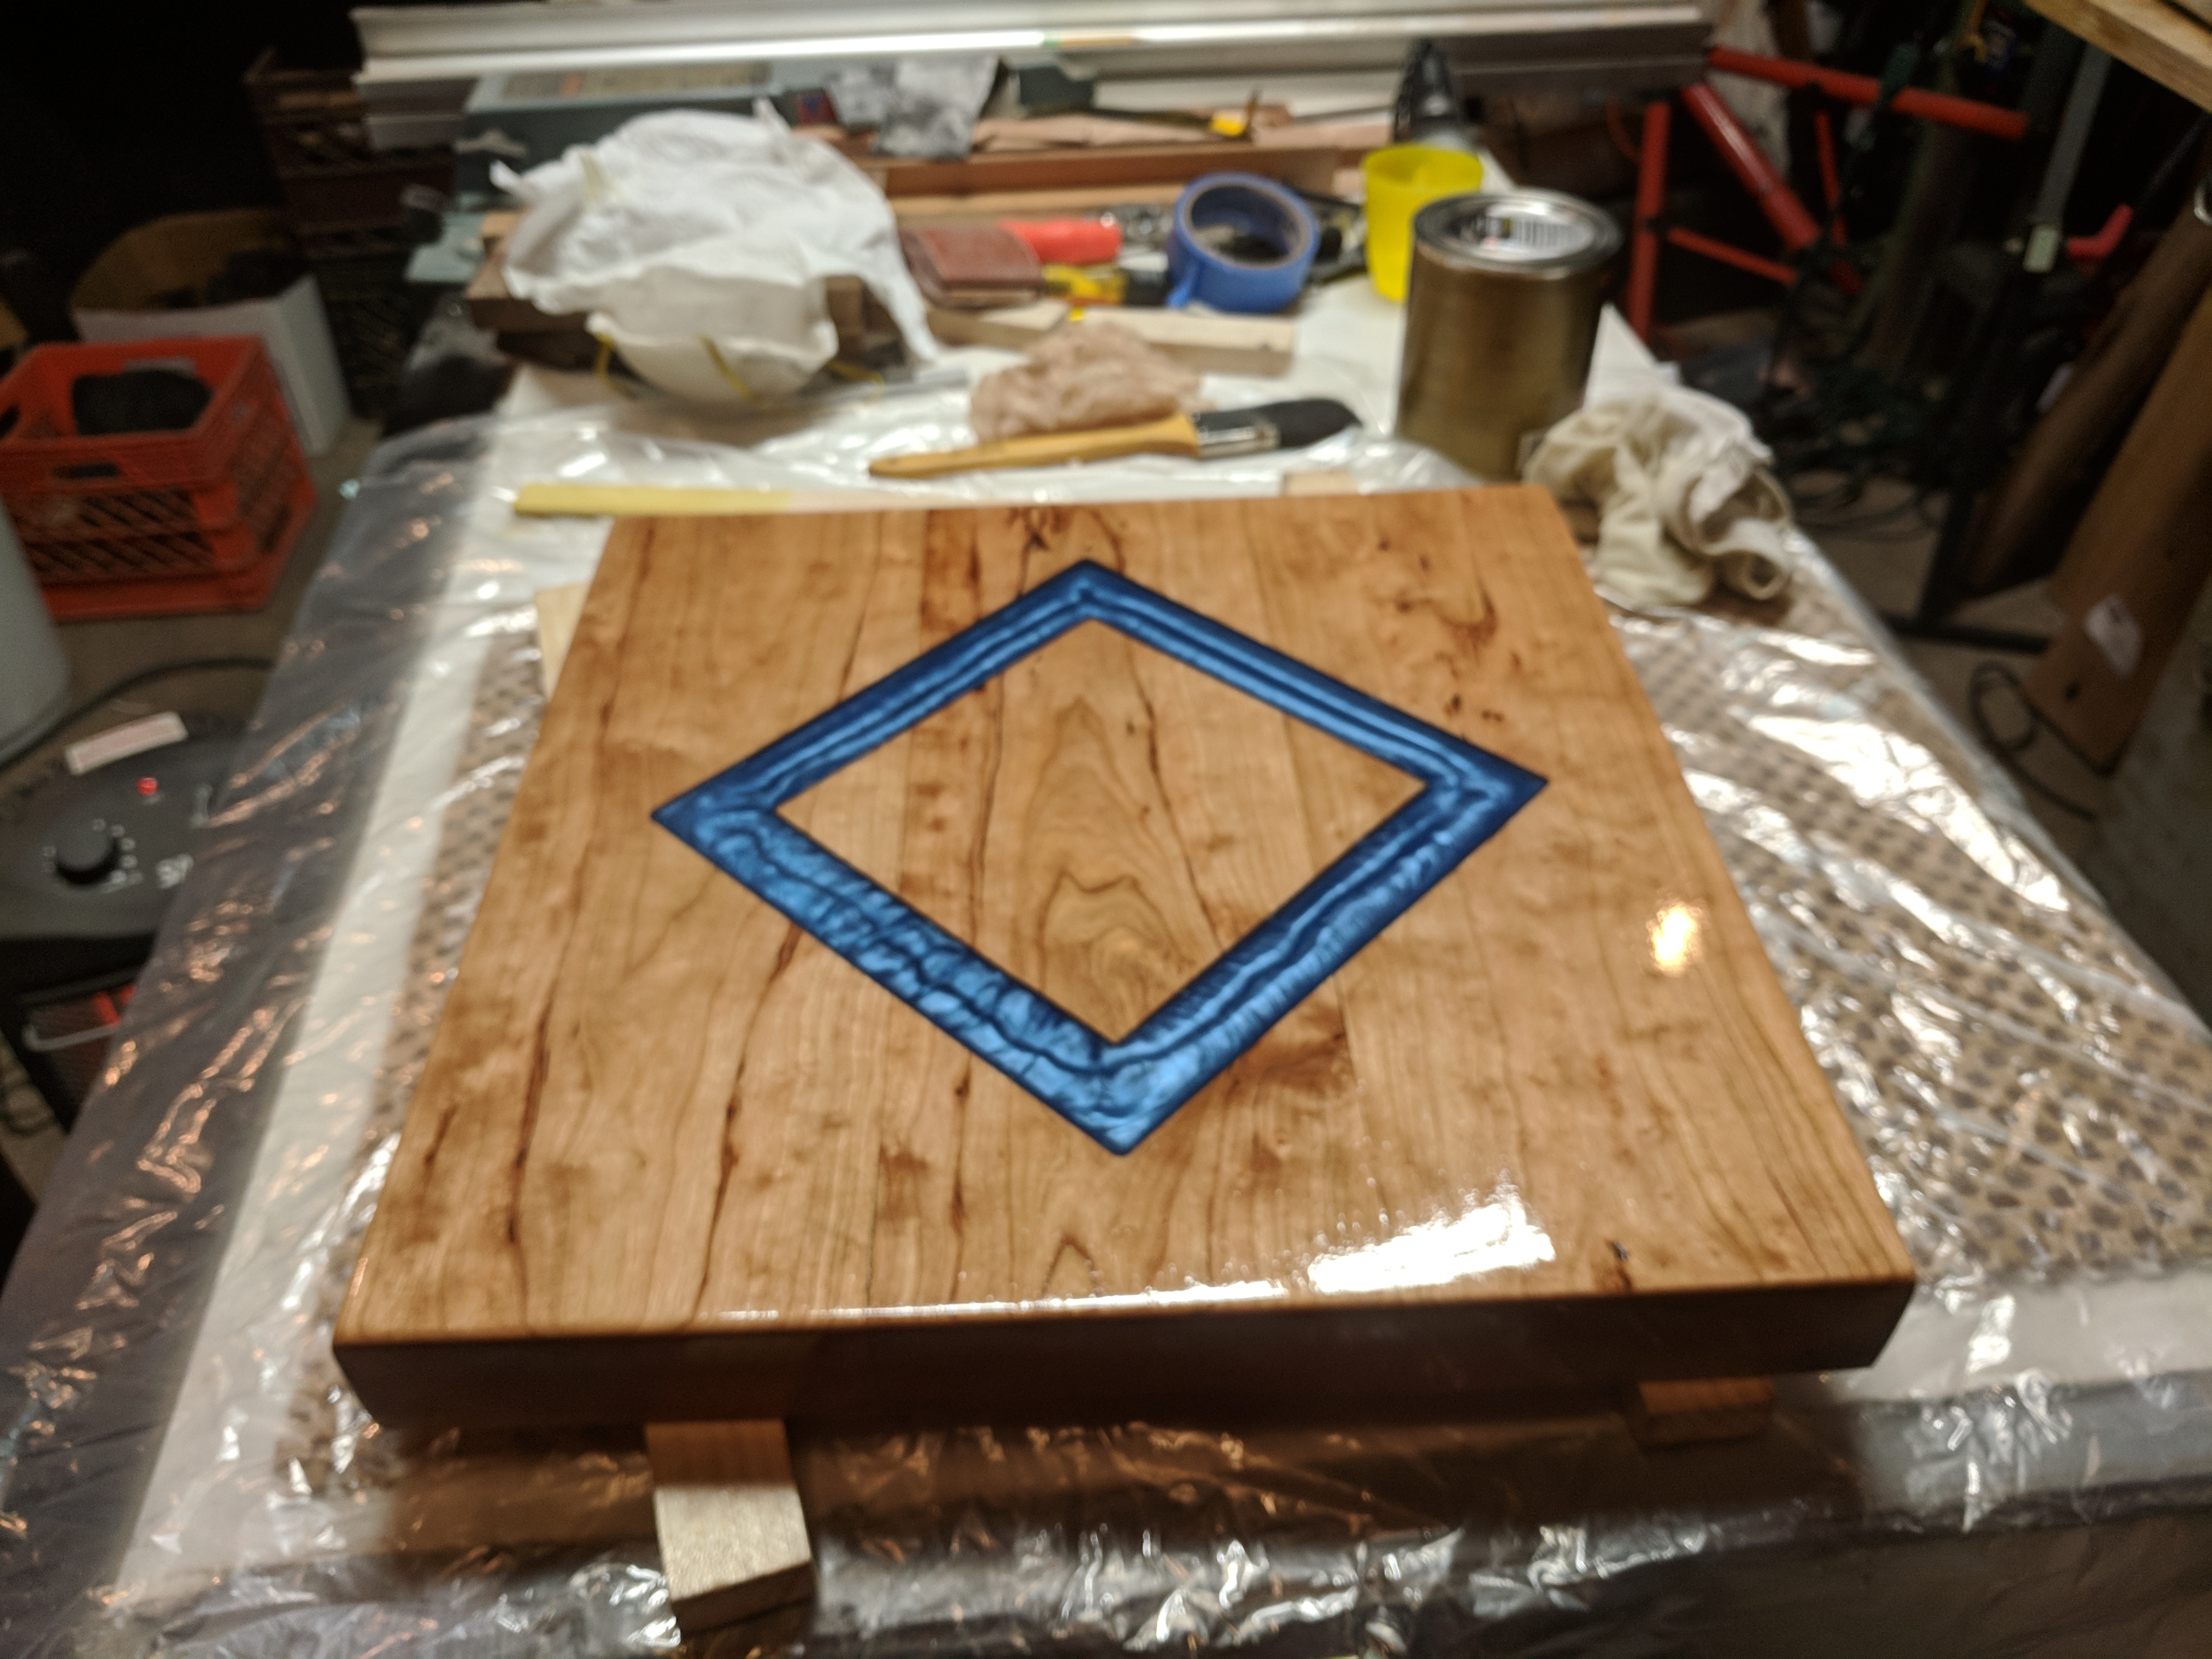
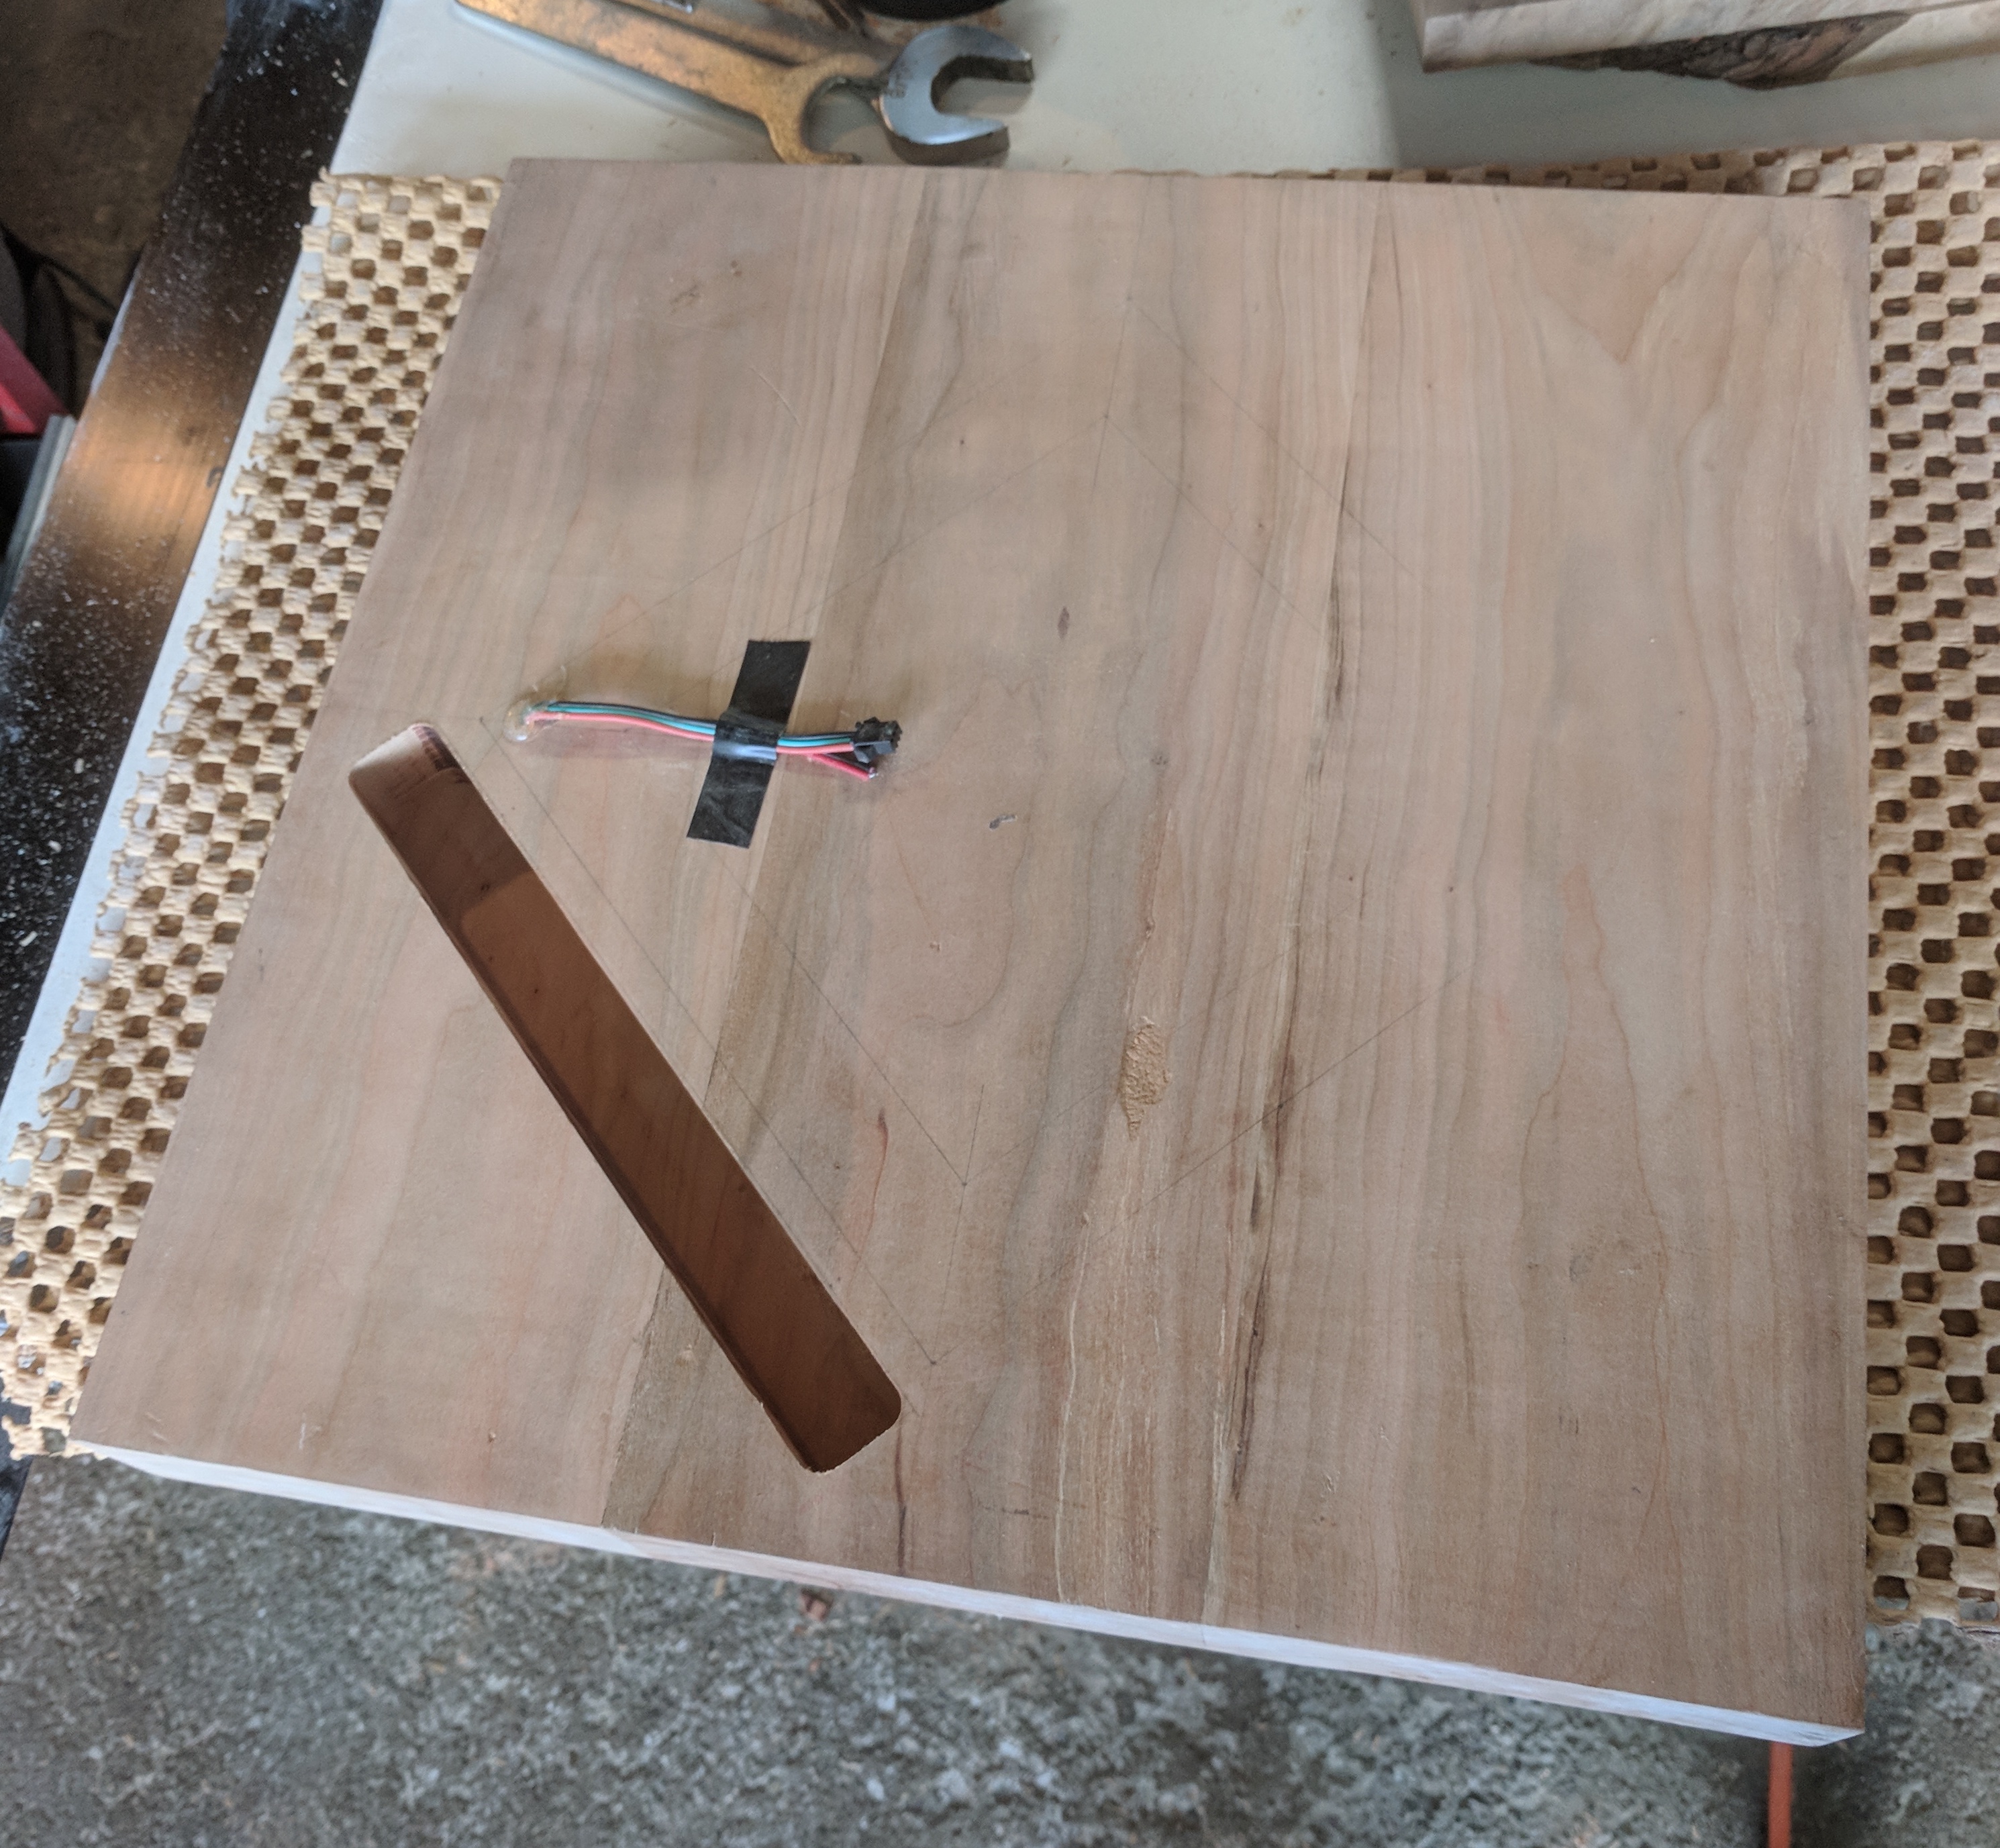
Next I made a template and routed out a diamond shape for the lights and resin inlay. For the lights I used a waterproof WS2812 LED strip placed on the inner and outer sides of the inlay. These are RGB LEDs that are individually addressable allowing for animations to be displayed. They were hot glued down with the power/data wires going through a small hole to the back of the wood.
Resin Inlay
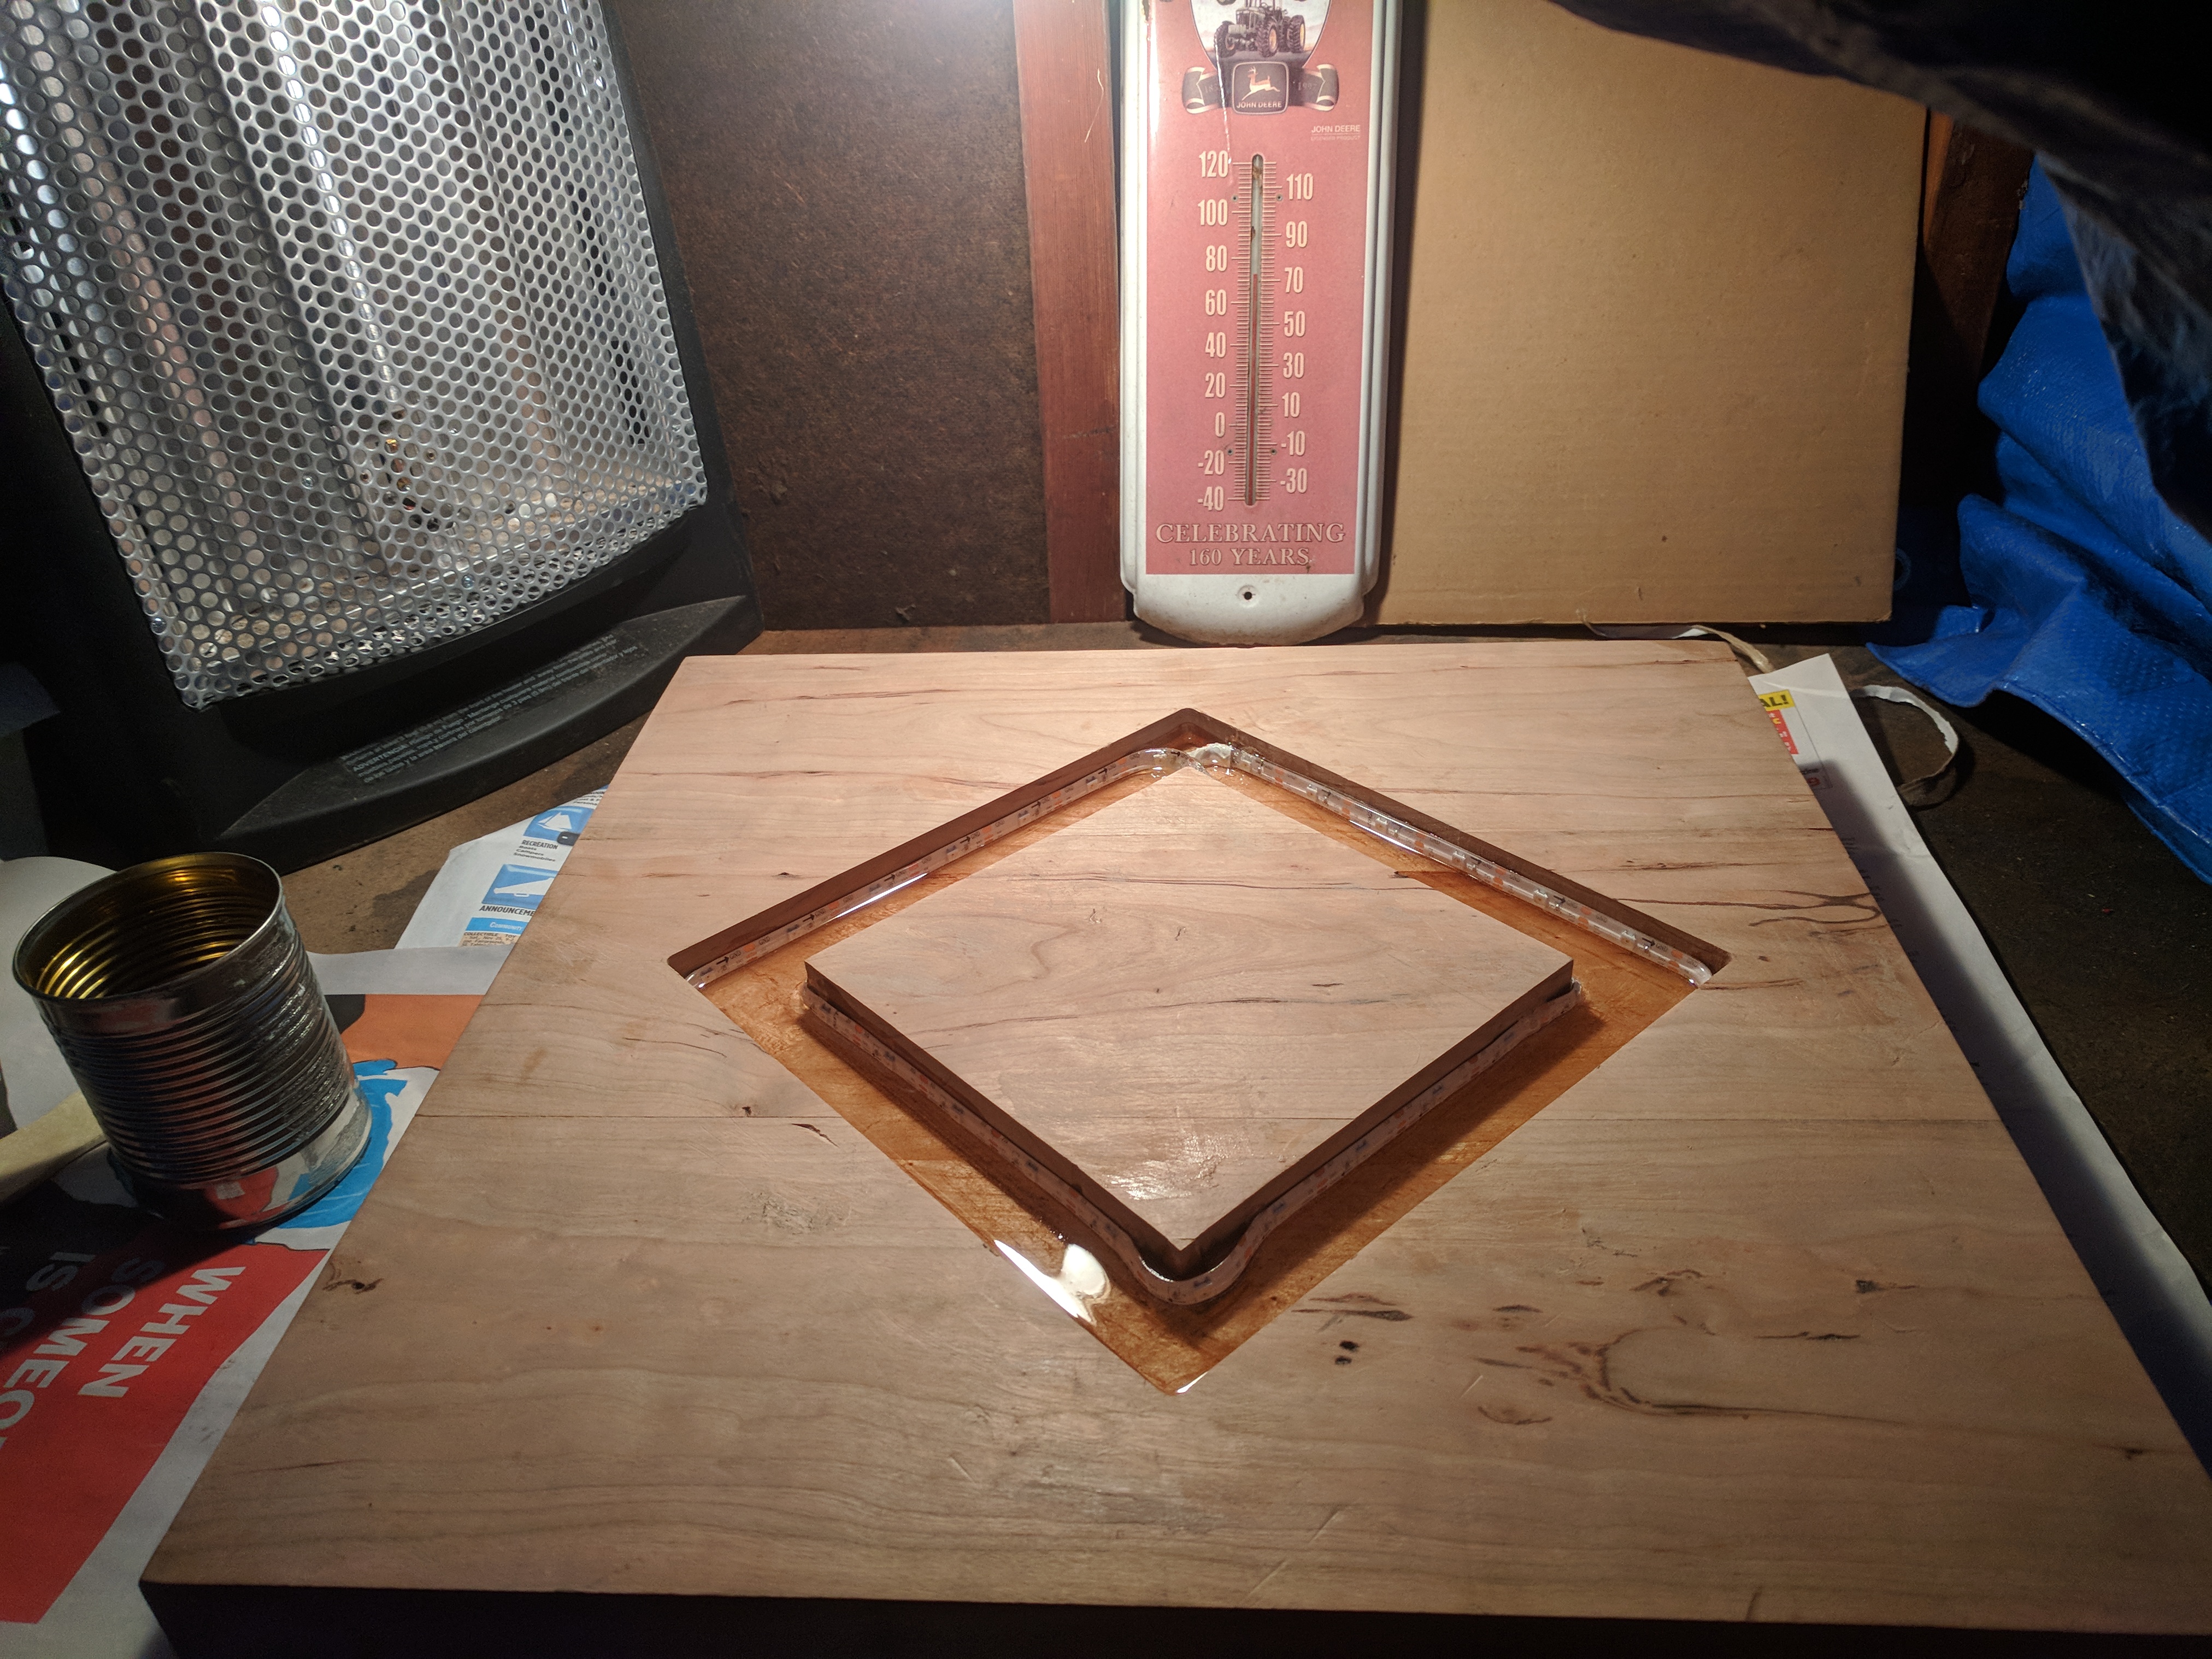
The biggest challenge of the project was the resin inlay. Resin requires 75-85˚ temperatures to properly harden and I didn’t have a good place inside the house for letting it set while keeping fumes away. So that meant the garage was the only option, but December in Michigan does not come close to reaching the necessary temperature.
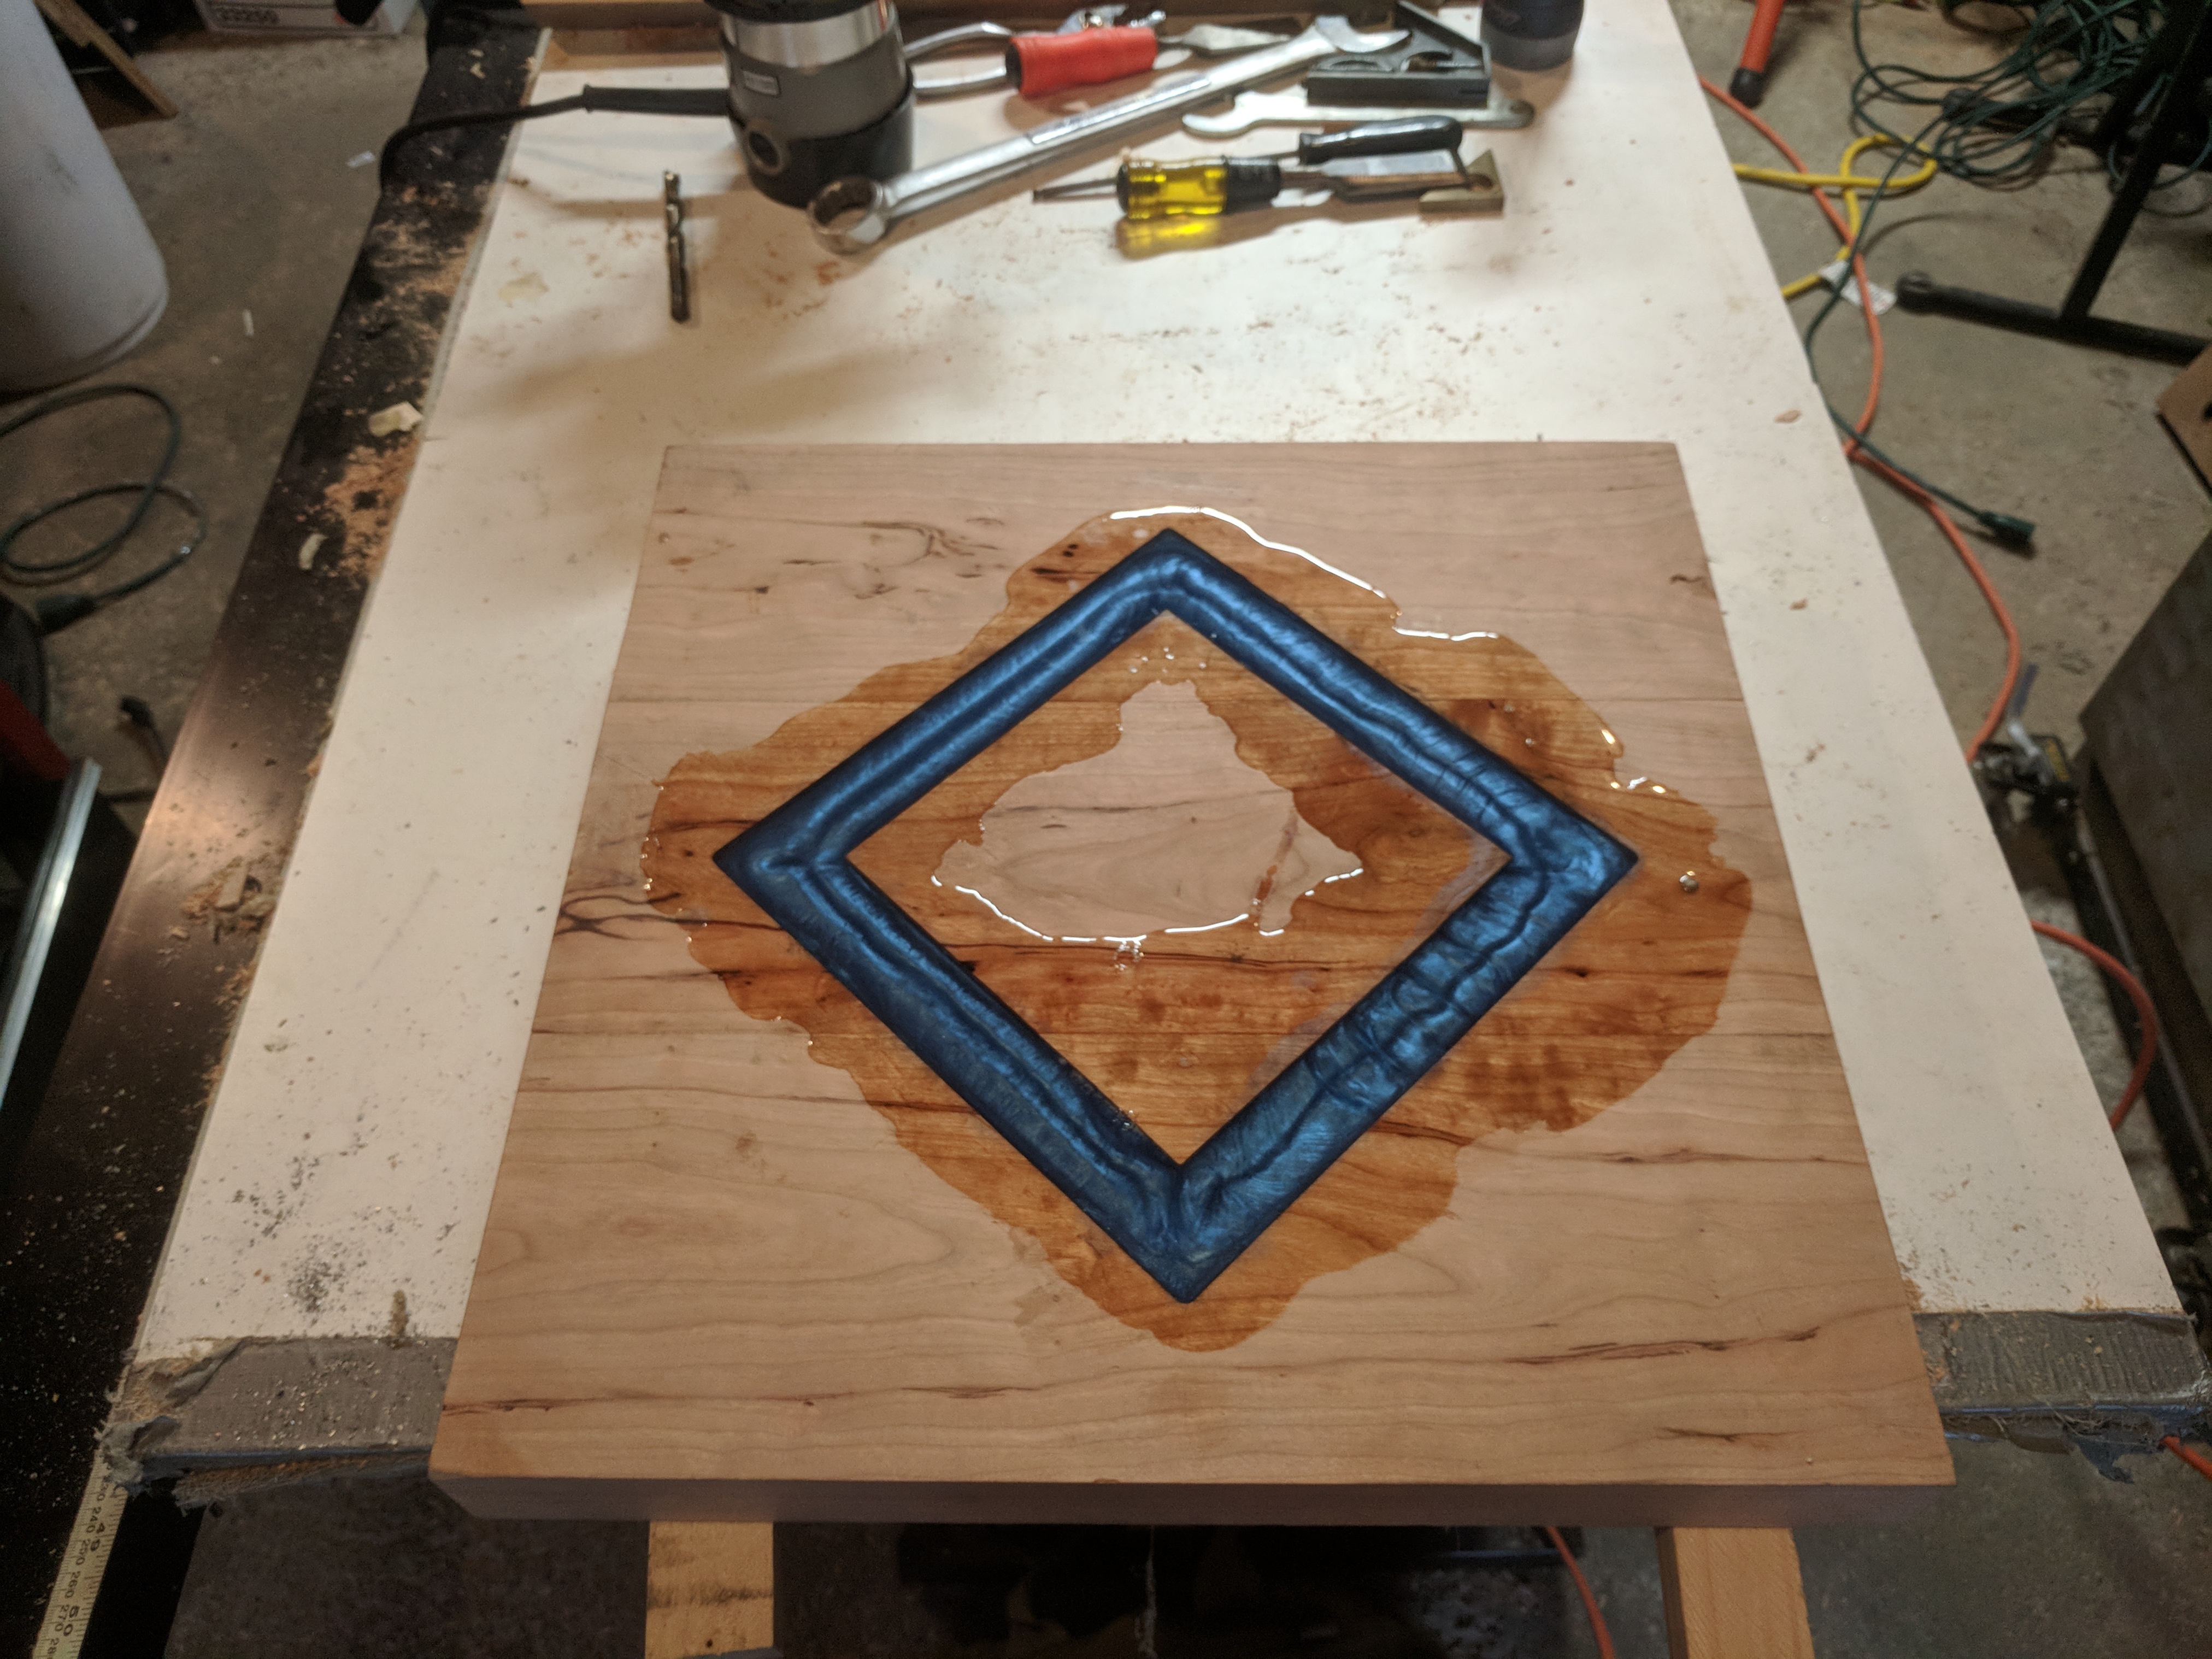
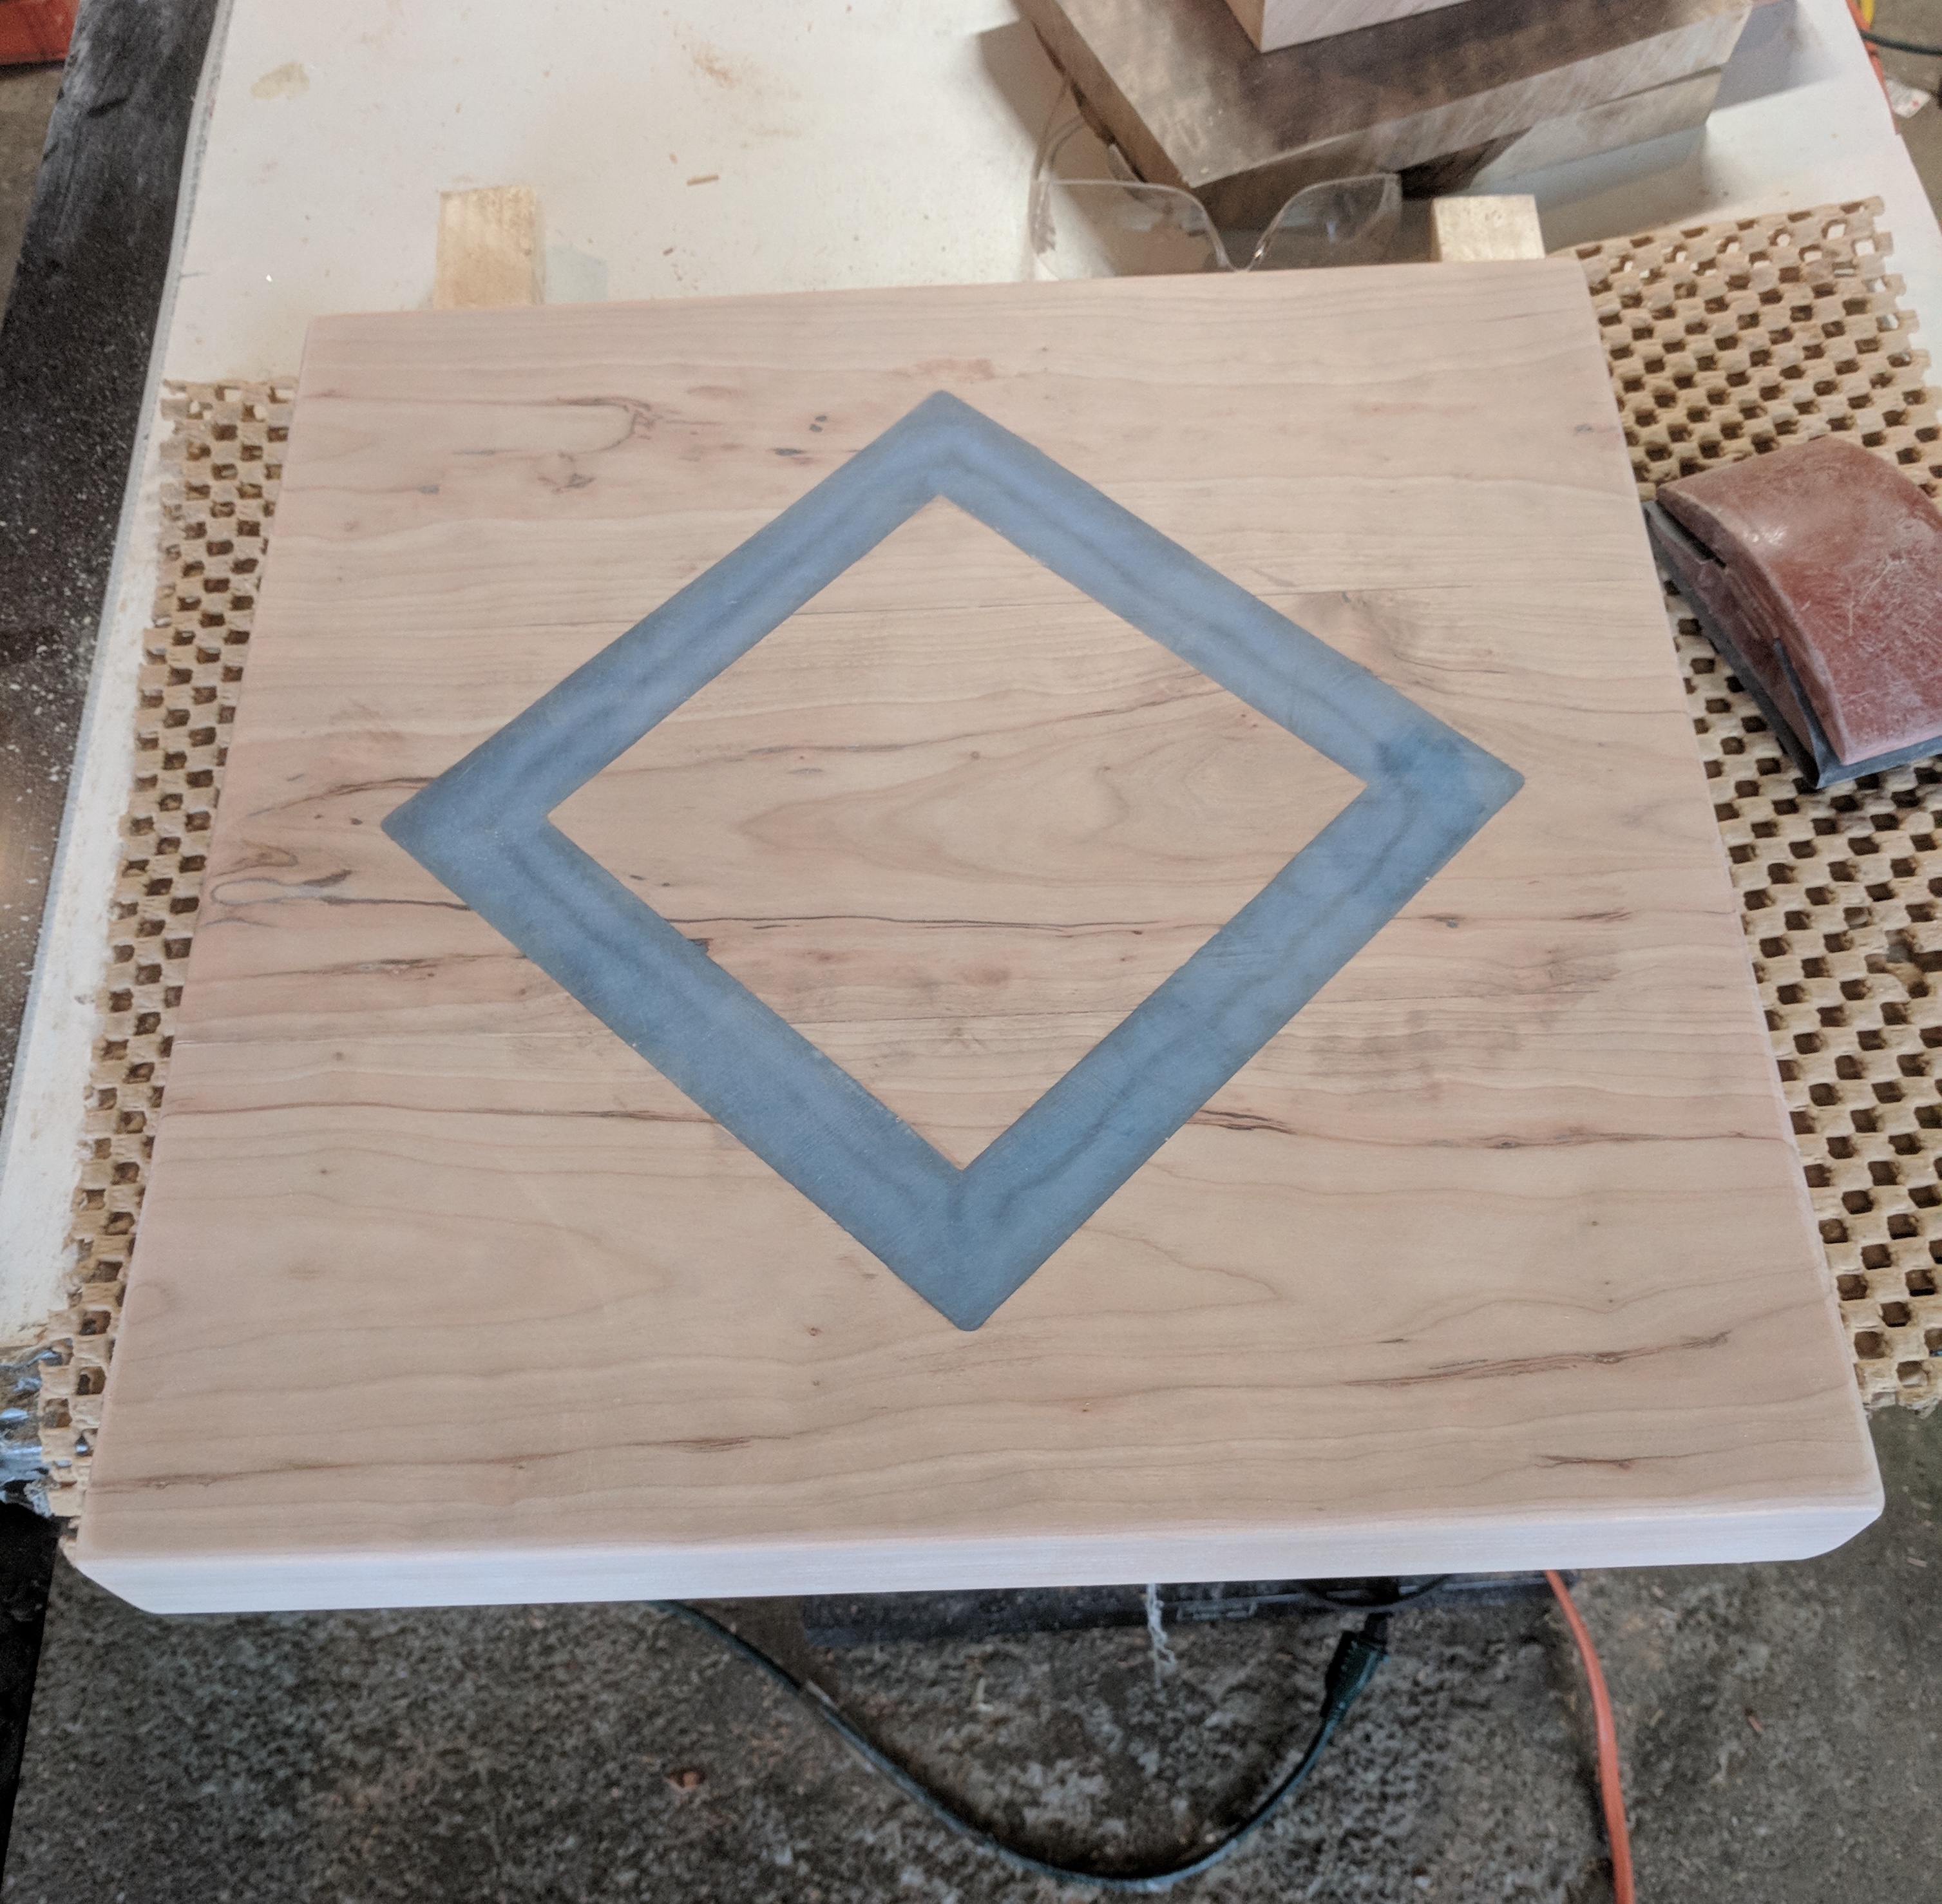
To keep the resin warm while hardening for 24 hours, I used a tarp to enclose a small section of the workbench and put a space heater inside. I poured the first ~1cm with clear resin to let more light through, then poured the top with a translucent blue. After hardening overnight, I sanded down the top and applied several coats of polyuerathane to finish the surface.
Capacitive Sensor + Light Controller
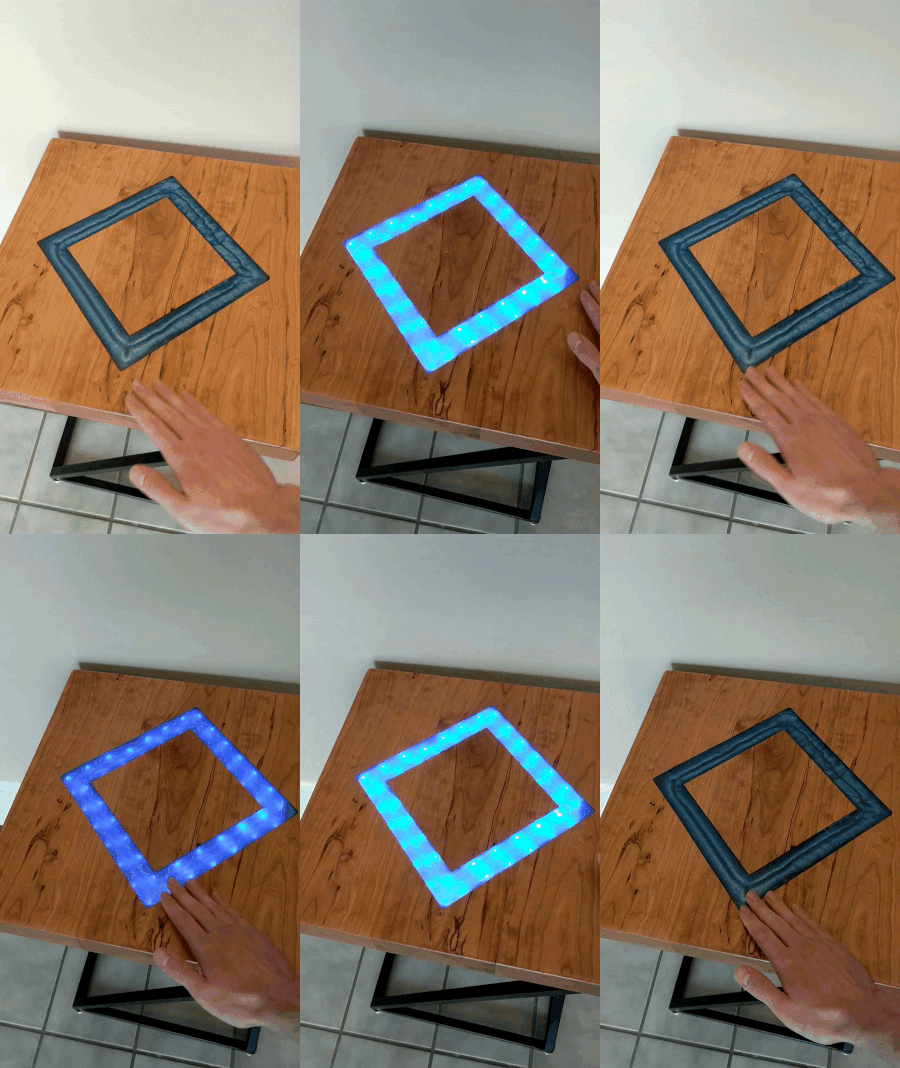
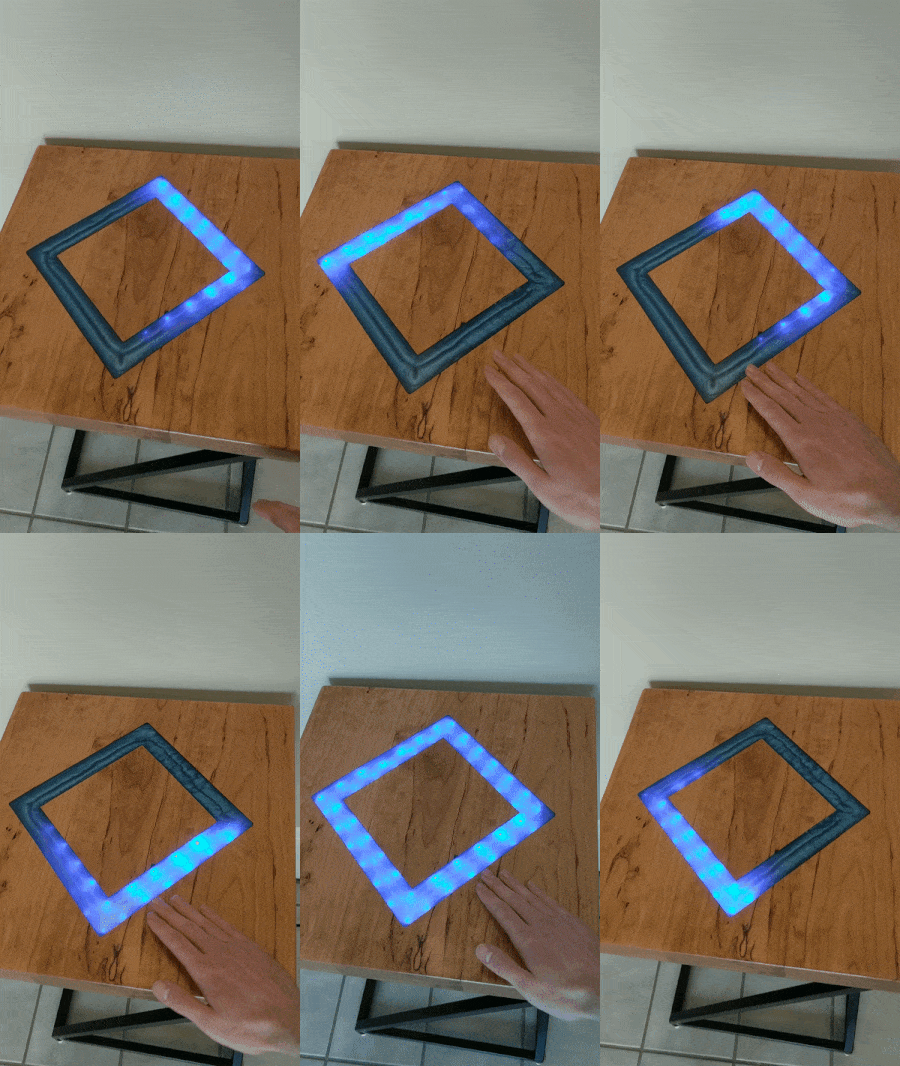
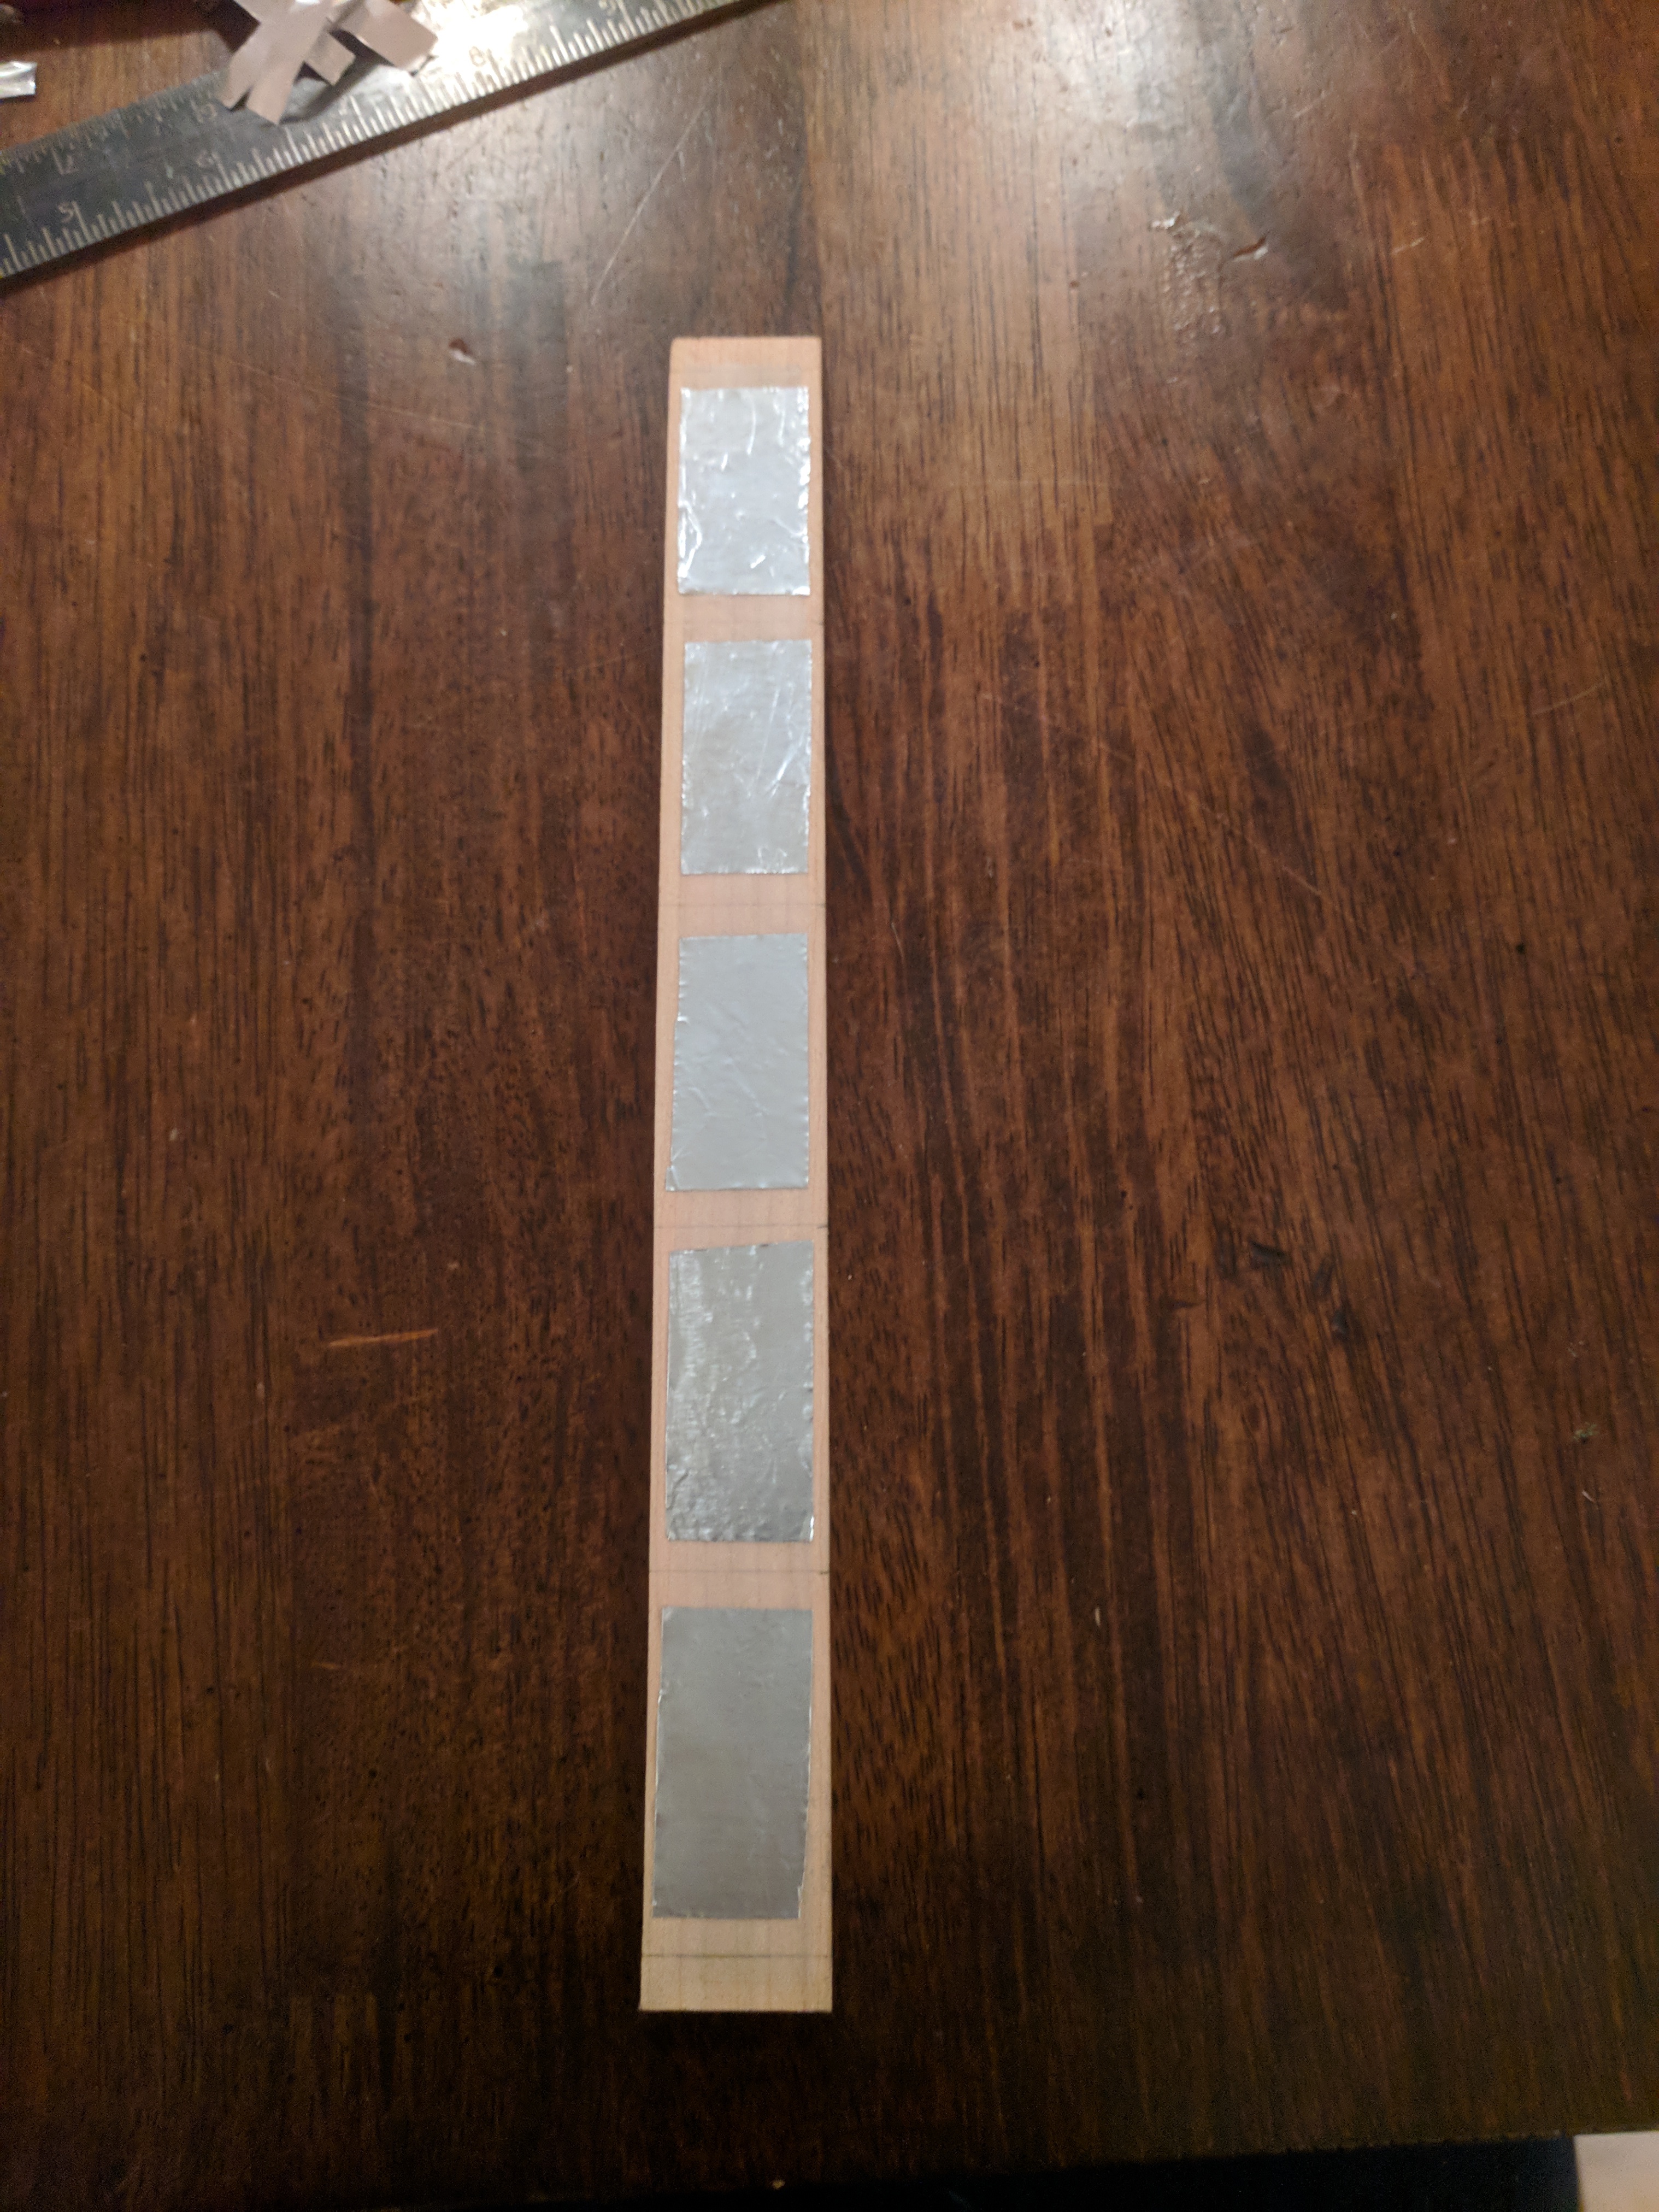
Next I designed a capacitive touch sensor to make the lights interactive while keeping the surface simple and polished. I placed several small foil strips on the table underside, about 1cm below the surface. The Teensy microcontroller (an Arduino board) used to control the lights also has several pins capable of capacitive sensing; I wired the foil strips to these pins to detect when a user’s hand is present. By looking at which strips are activated, the microcontroller can determine which direction the hand is sliding, and dim the lights accordingly.
Metal Base
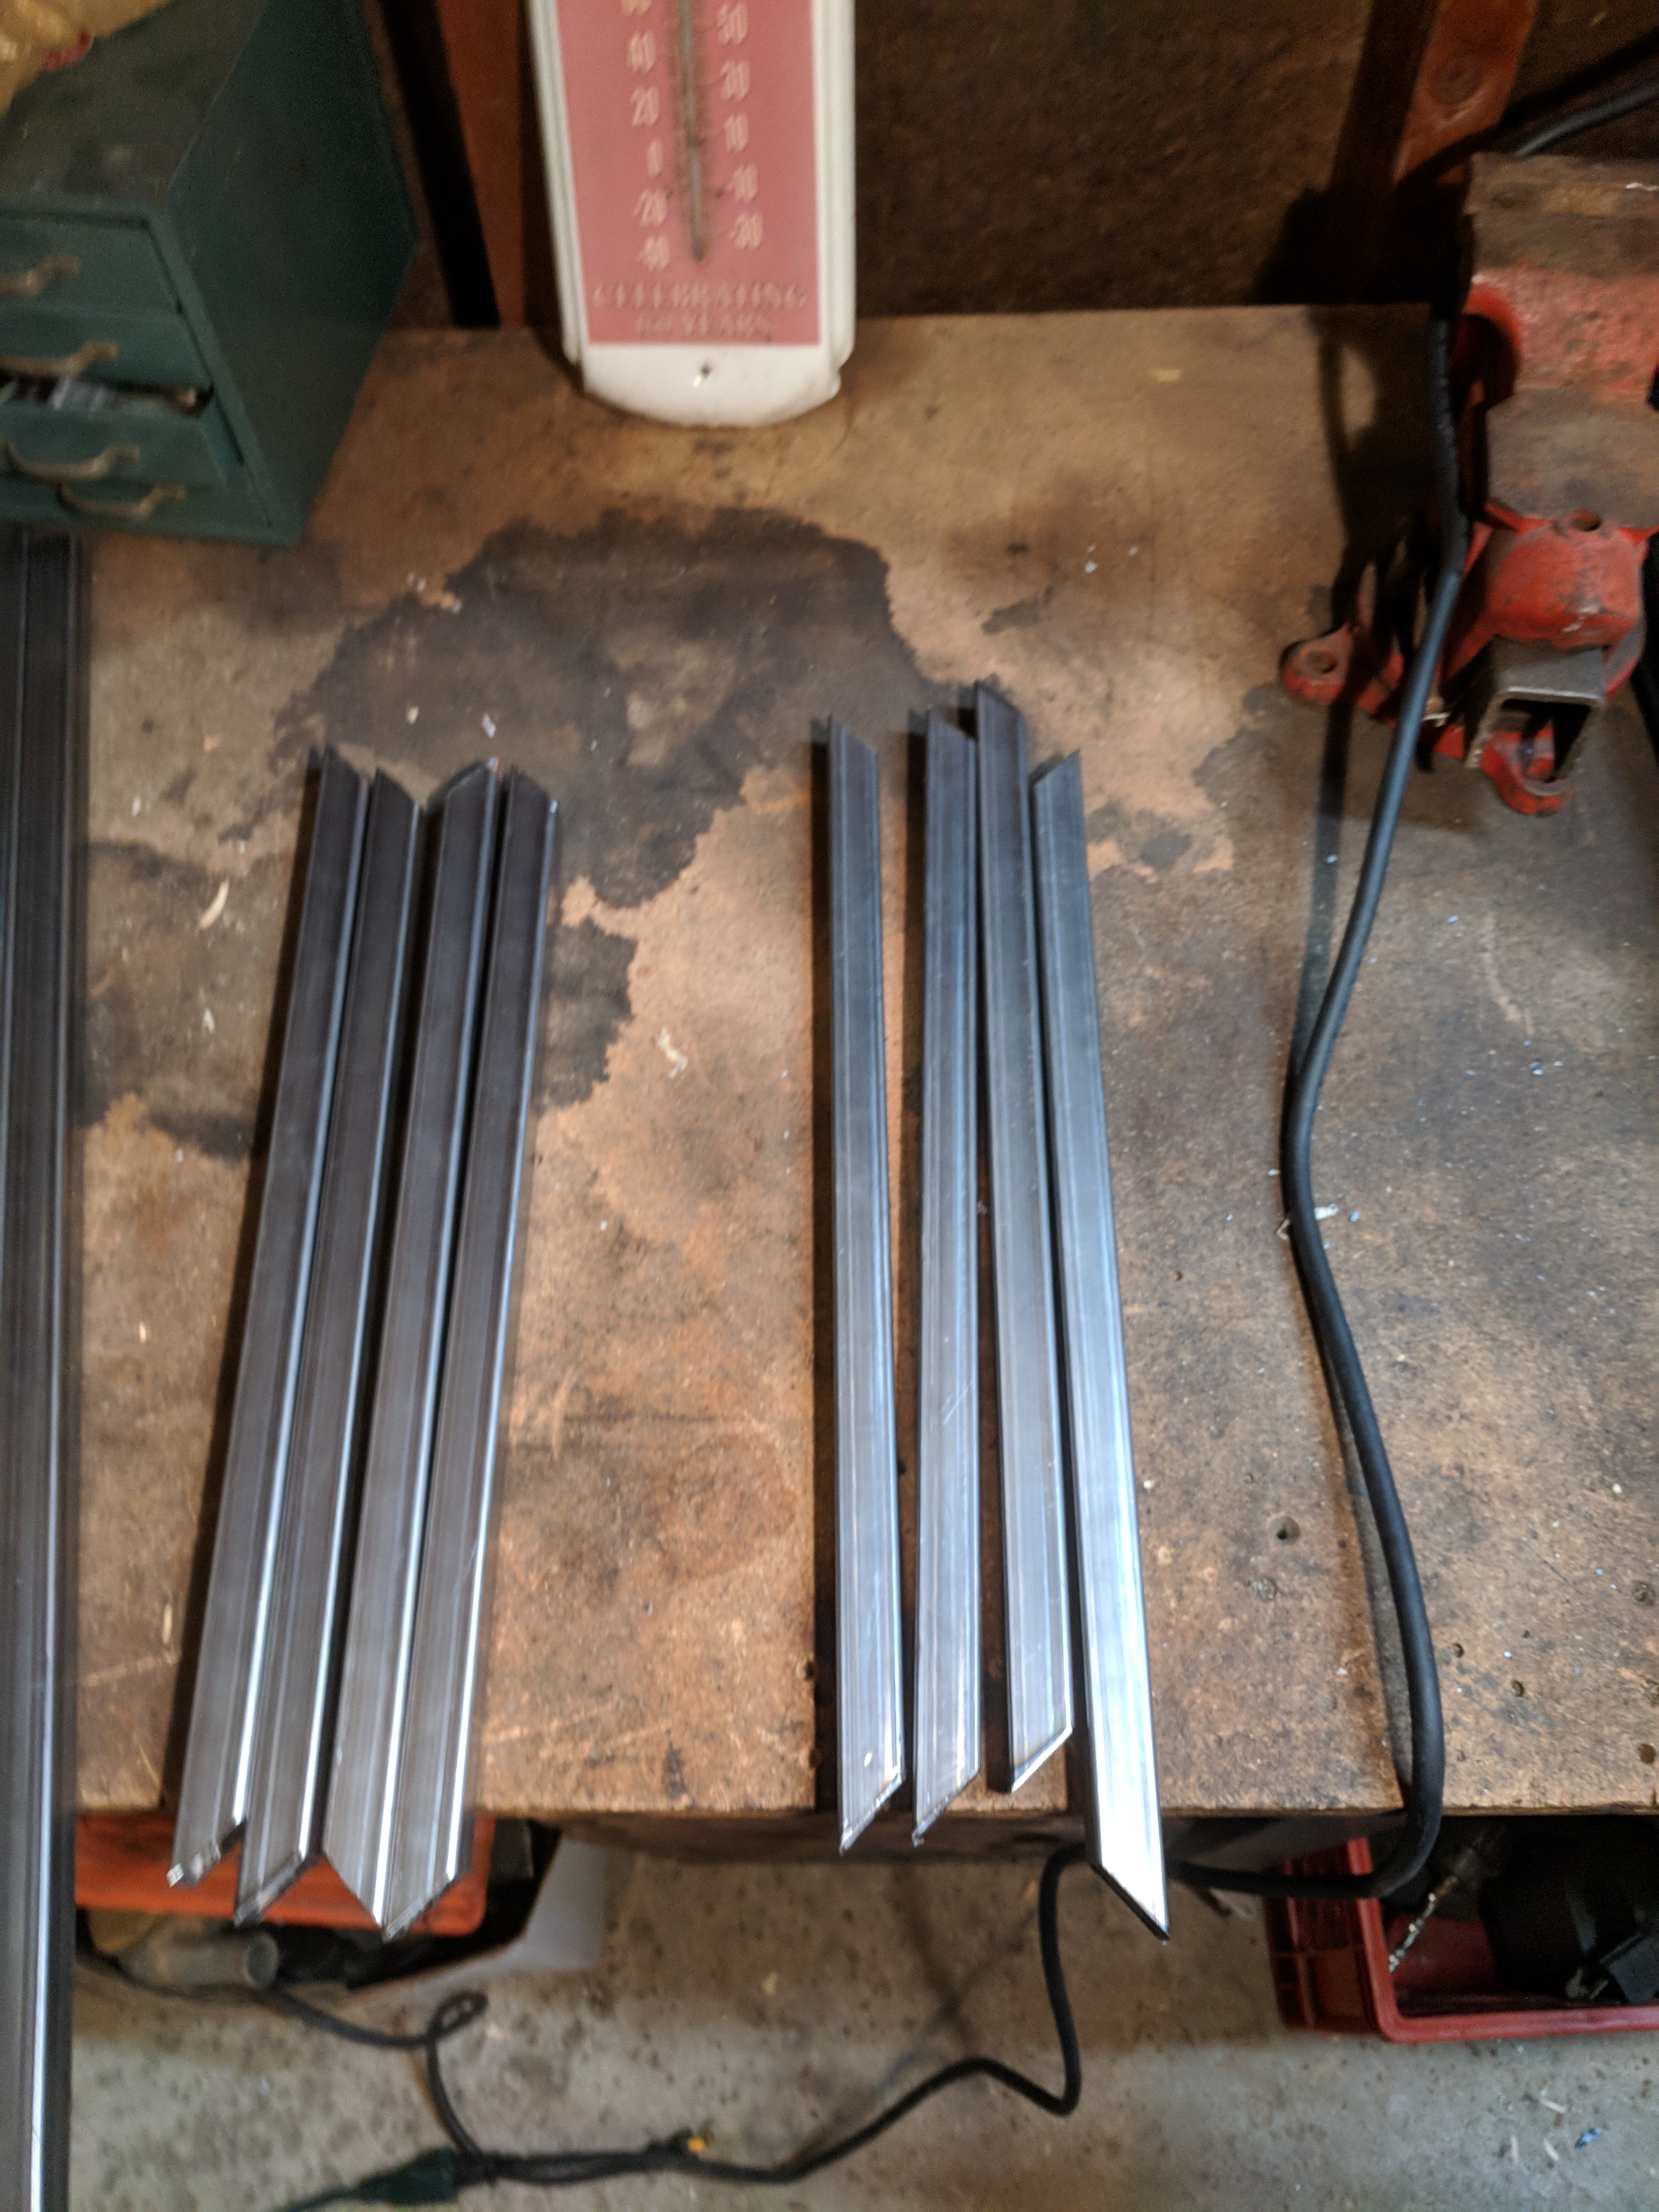
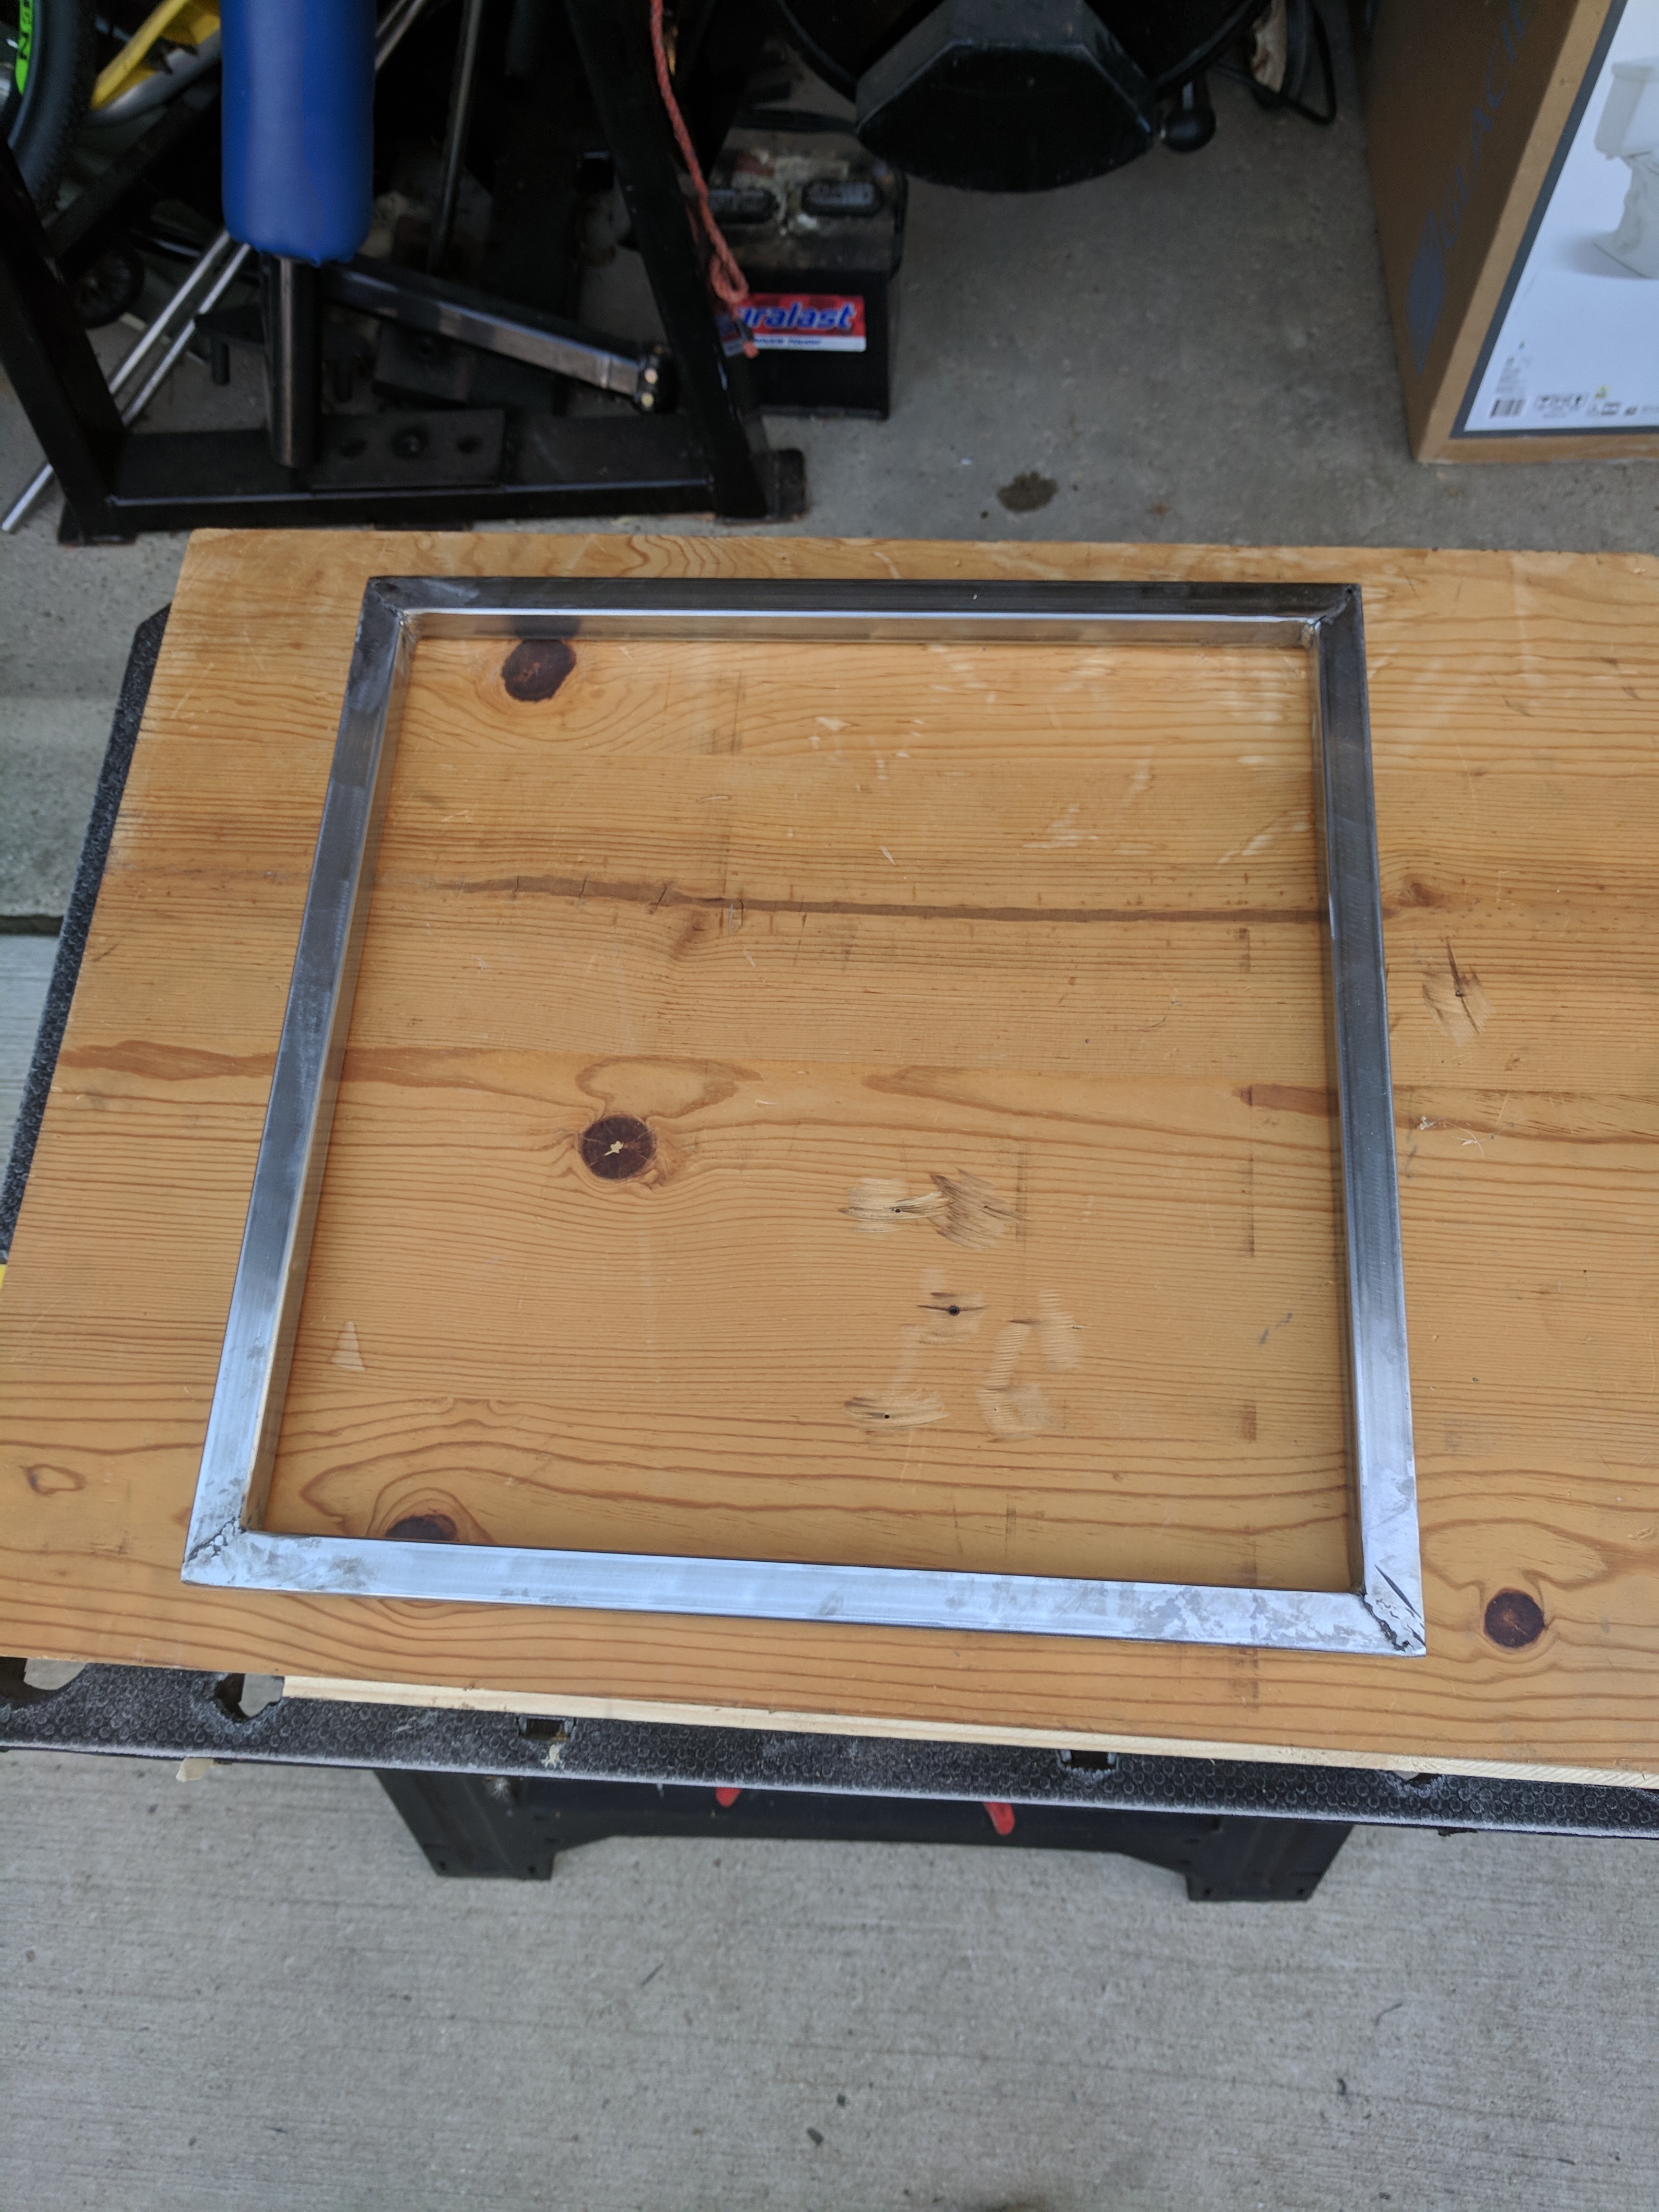
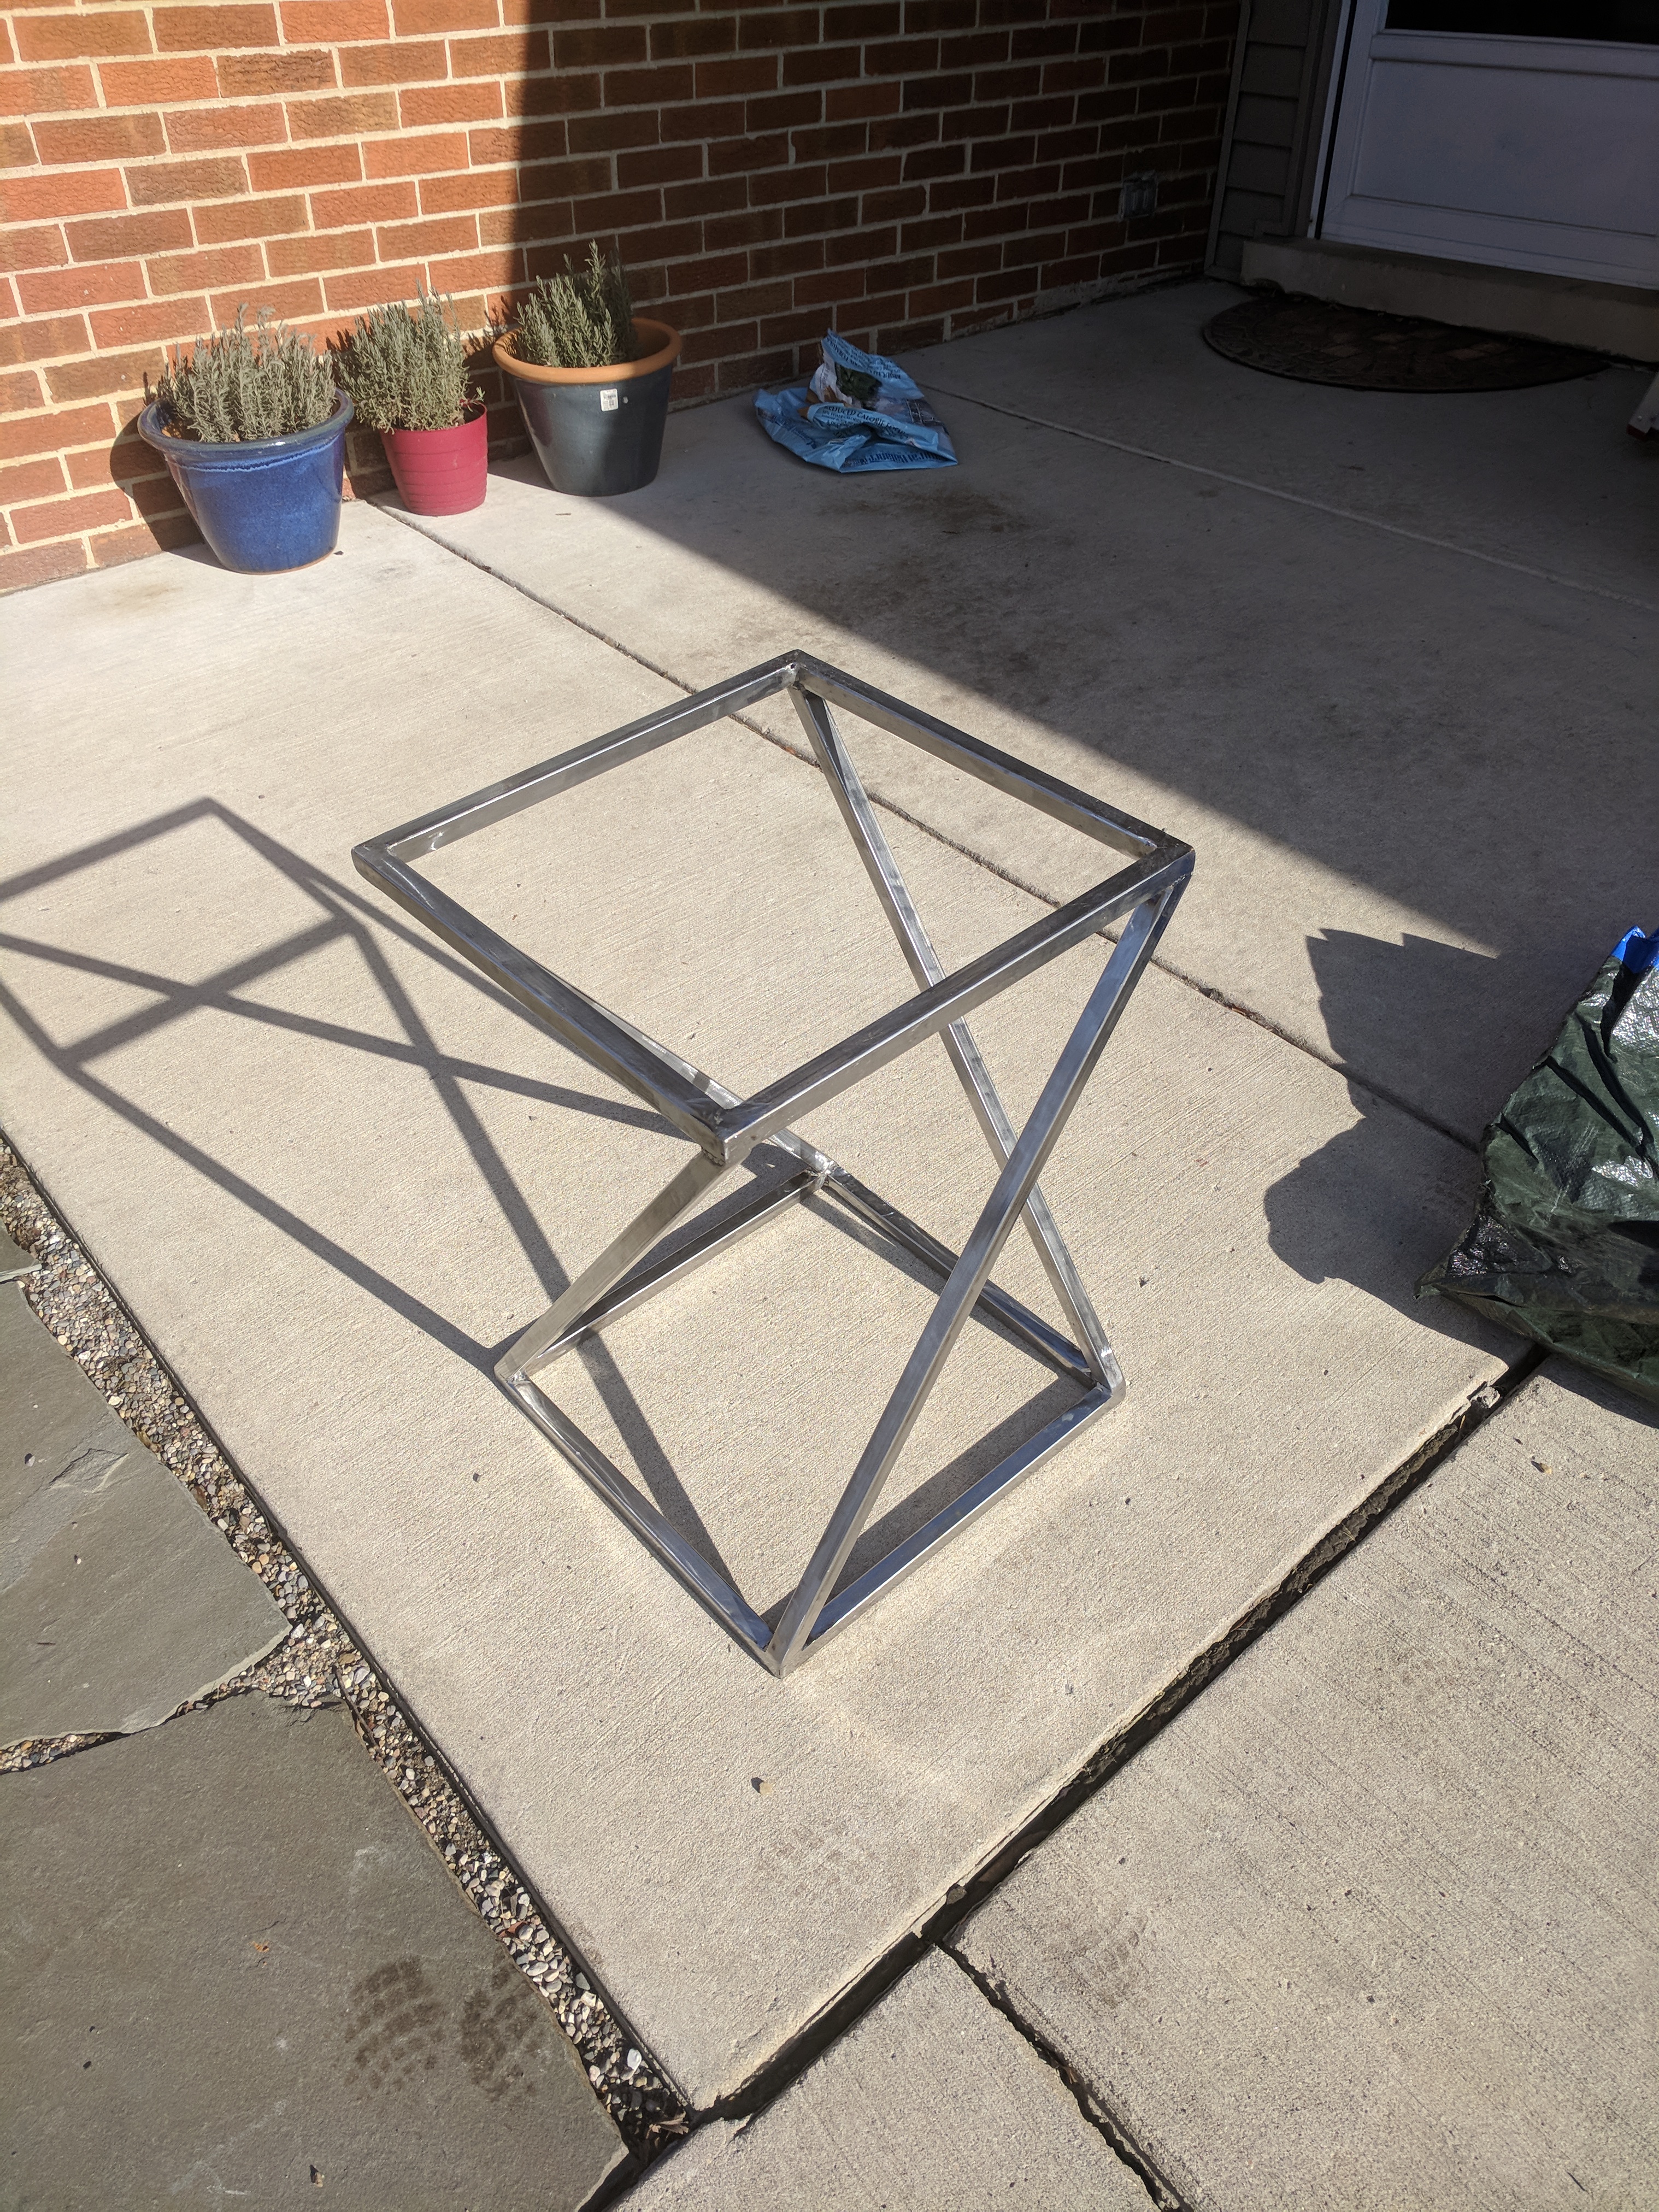
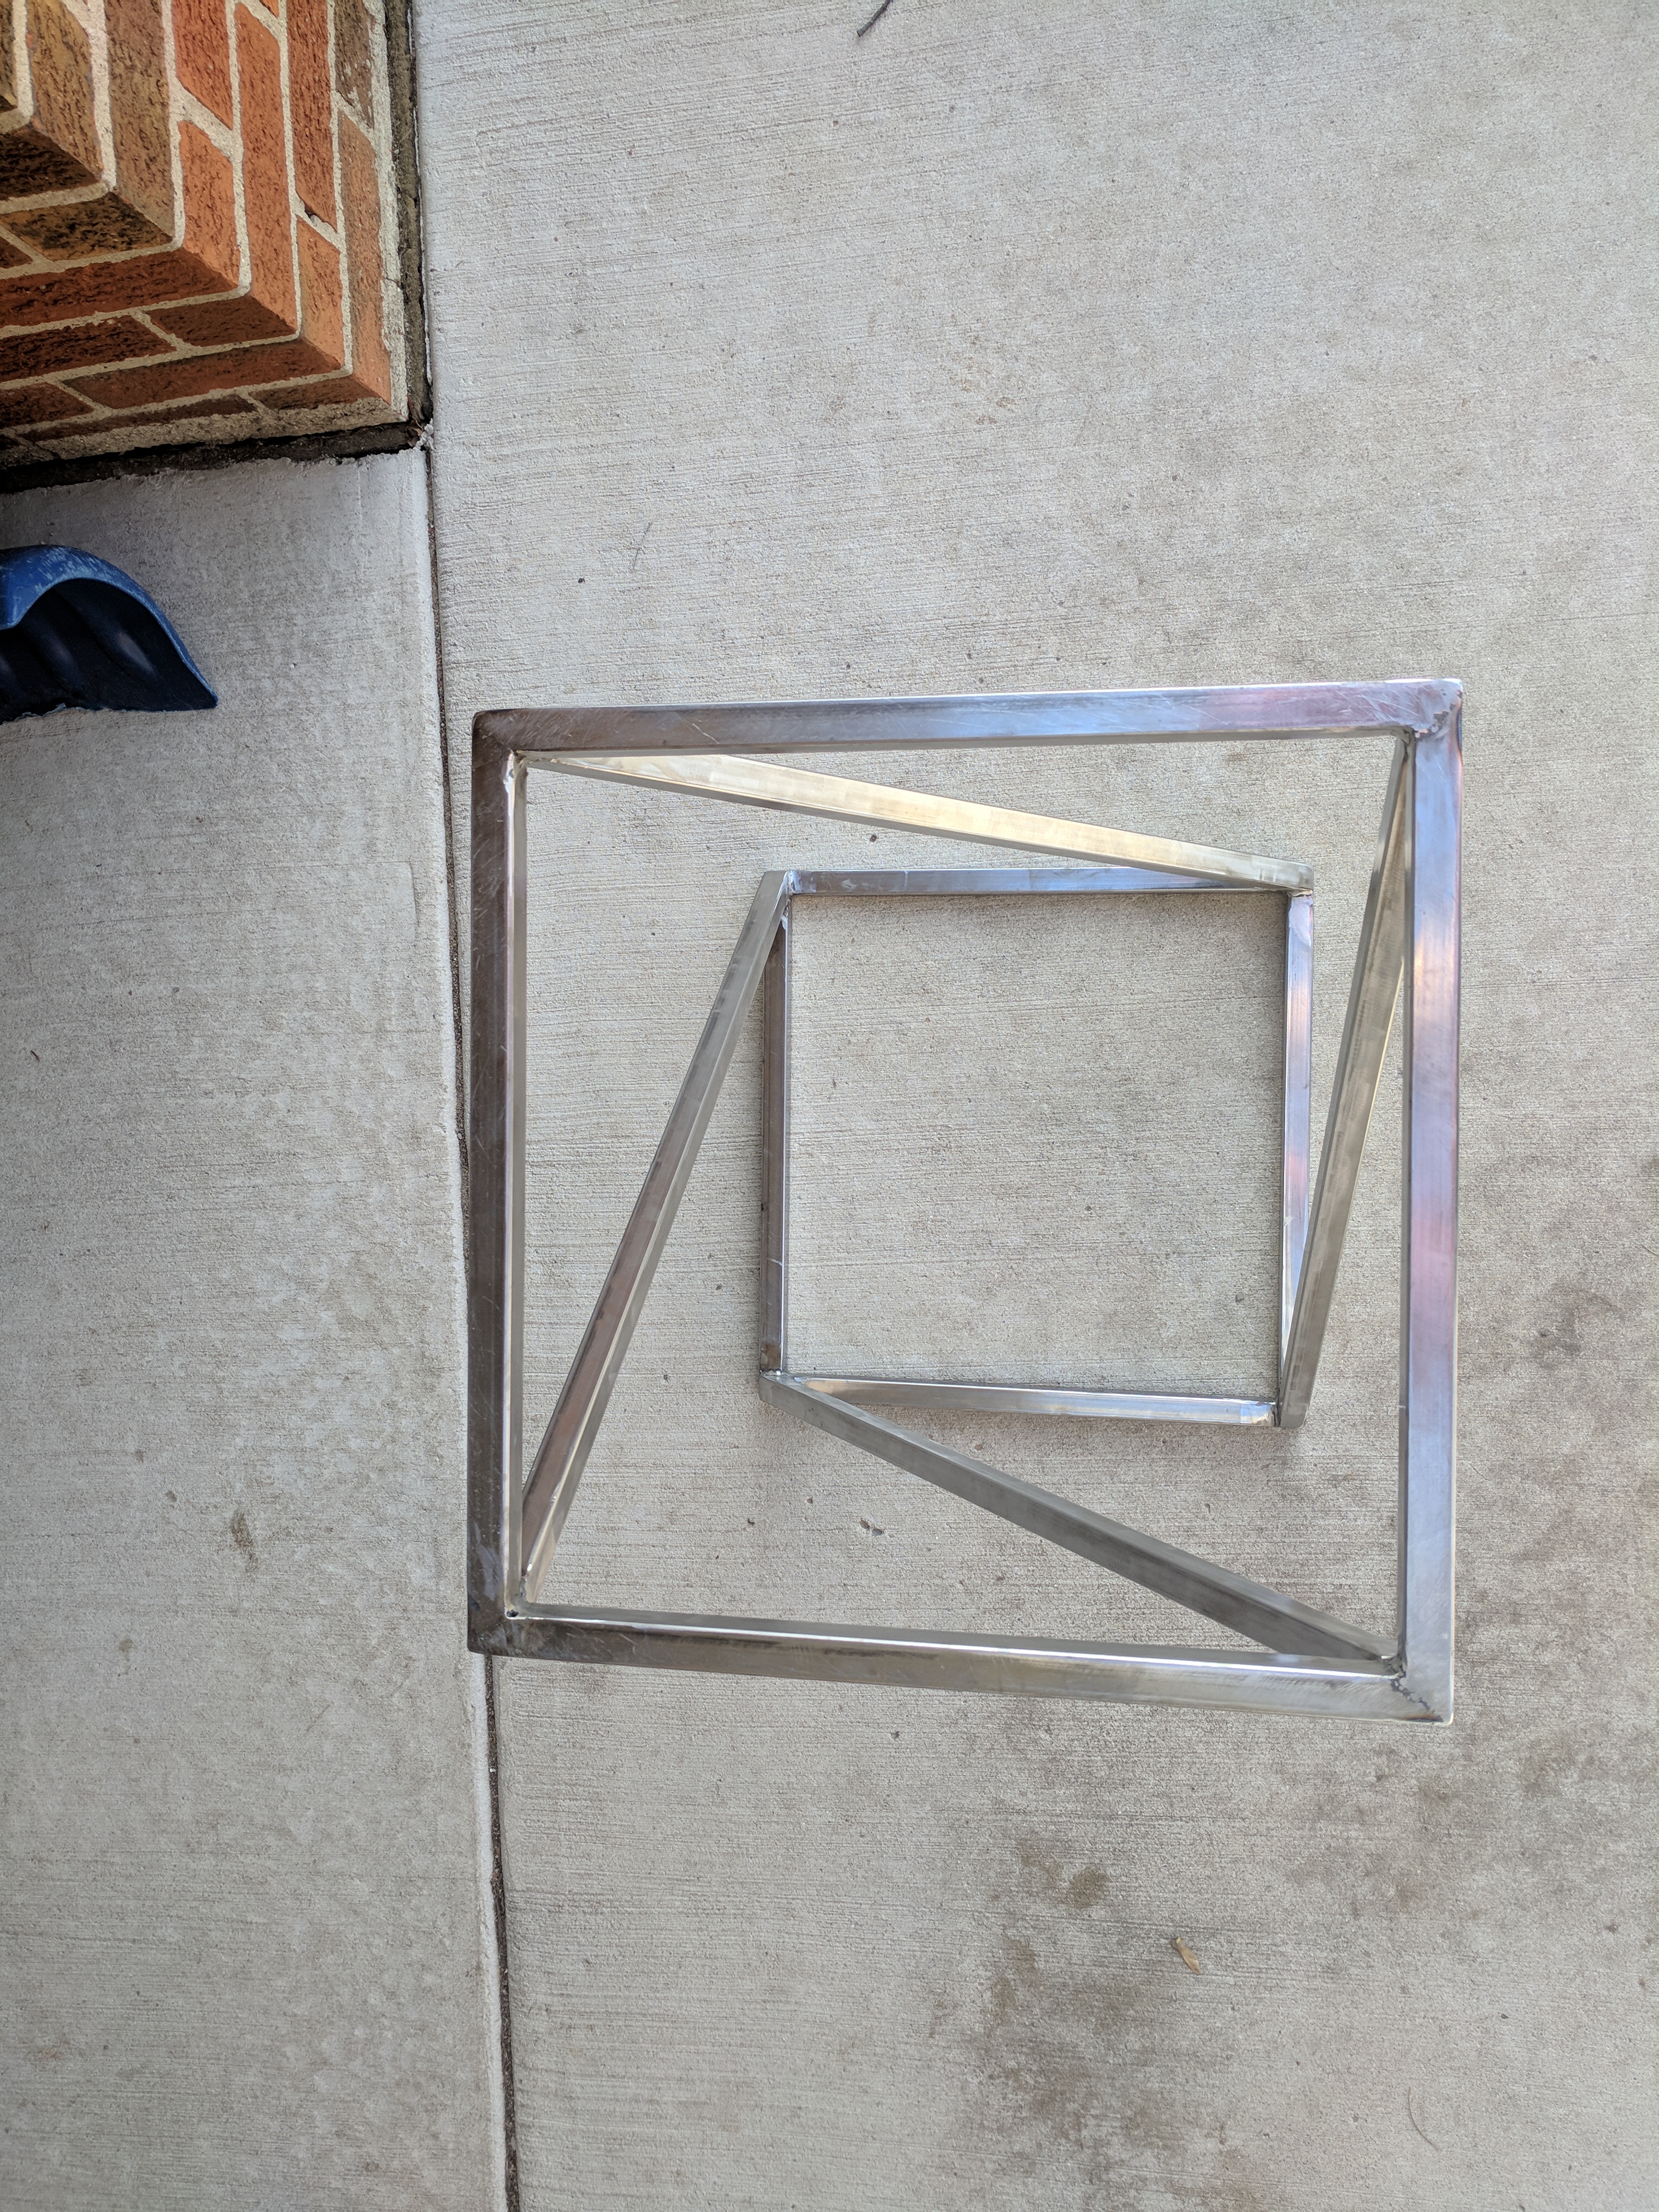
For the table frame, I cut and welded square steel tubing into a unique diagonal base. I sanded the frame, spray-painted it black, cut holes for running a power cable through the sides, and screwed it to the table-top.
Final Table
I’m very happy with how the final table turned out. Along the way I learned many more skills in woodworking, resin pours, and welding. Now the table sits next to my bed and I have fun playing with the lights every night.
